Documentation
pascom Cloud Phone System Documentation and Release Notes
pascom ONE Migration Guide
In this guide, we will show you how to migrate your ONSITE pascom phone system to pascom ONE in 3 simple steps.
3 steps to migrate to pascom ONE
Prepare for the future and upgrade your onsite pascom phone system to pascom ONE. In doing so, you will benefit from a future proof, secure all-in-one cloud communications platform. The following guide provides a step-by-step explanation of how to migrate your existing onsite pascom phone system to pascom ONE in 3 simple steps.
1. Step - Check requirements
To be able to use a cloud communications platform, you first need to make sure a few basic requirements are fulfilled, mainly relating to your company’s IT infrastructure.
-
Company Internet access - Cloud communications require a stable Internet connection as all your company communications will be done via the Internet. As such, stability is more important than speed.
-
Correctly configure your company firewall - In order for individual pascom services (e.g. video telephony, fax, file sharing, etc.) to function properly across your entire organisation, you must configure the ports of your firewall accordingly. Instructions on how to configure your firewall can be found in our port-overview.
-
Check pascom server version - Your pascom onsite phone system must have a currently supported server version installed in order to perform a successful migration. If your pascom onsite telephone system server is runnning an older, unsupported version, you must first contact our Support Team.
Once these requirements have been met, you can continue with your preparations as follows.
2. Step - Important preparations
This step involves making some important preparations which are relevant to the actual migration. Unlike the requirements, there is always an alternative to these preparations which means that even if some of the criteria are not met, the migration can still be performed. For example, if your provided does not work within the pascom.cloud.
Check provider compatibility
At this point, you need to find out if your current provider still works within the pascom.cloud environment. This step is necessary because there are telephony providers that only allow the usage from the contractually defined location. An overview of all the providers that work within the pascom.cloud can be found in our trunk-templates overview.
Help my provider is not supported in pascom cloud - You may be able to use the pascom SIP Trunk by porting your phone numbers to pascom. More information about the porting process can be found here.
Check hardware compatibility
Next, please check whether your existing hardware including desktop VoIP phones, gateways, and other endpoints etc is compatible with the pascom.cloud and therefore will continue to function after the migration. Compared to endpoints that are connected to an onsite PBX inside your own corporate network, endpoints that should be connected to and used in a cloud communications environment must fulfil certain security standards to encrypt your company communication. For more information, please refer to our Endpoints Documentation and Gateway Documentation.
Alternative to outdated hardware VoIP phones - Instead of using old desktop VoIP phones, the pascom desktop app’s integrated softphone combined with a headset is a great alternative. Another excellent option is to remote control your pascom mobile app via the desktop app, just like you would control a desktop IP phone. For more information on controlling you mobile device, simply visit our desktop user guide.
Create a backup of your settings
Create a backup of your data including all your users, call history, settings and much more. This will allow you to simply transfer your existing classic pascom phone system database to your new cloud phone system.
- Important - The pascom cloud phone system only supports the import of database backups from a currently supported server version.
- In the Admin WebUI, click in the menu and then click . Decide which data to back up and click .
Help my server version is too old - Talk to our Support Team, who may be able to update the server version manually. In certain special cases, this may not be possible and you may be required to perform a new setup of your data and settings on the new cloud telephone system.
3. Step - Perform migration
The last step is the actual migration of the onsite telephone system to a pascom ONE cloud telephone system.
Log into the my.pascom.net portal with your user data. Search for the onsite phone system under your Subscriptions and click .
You will then have the following overview.
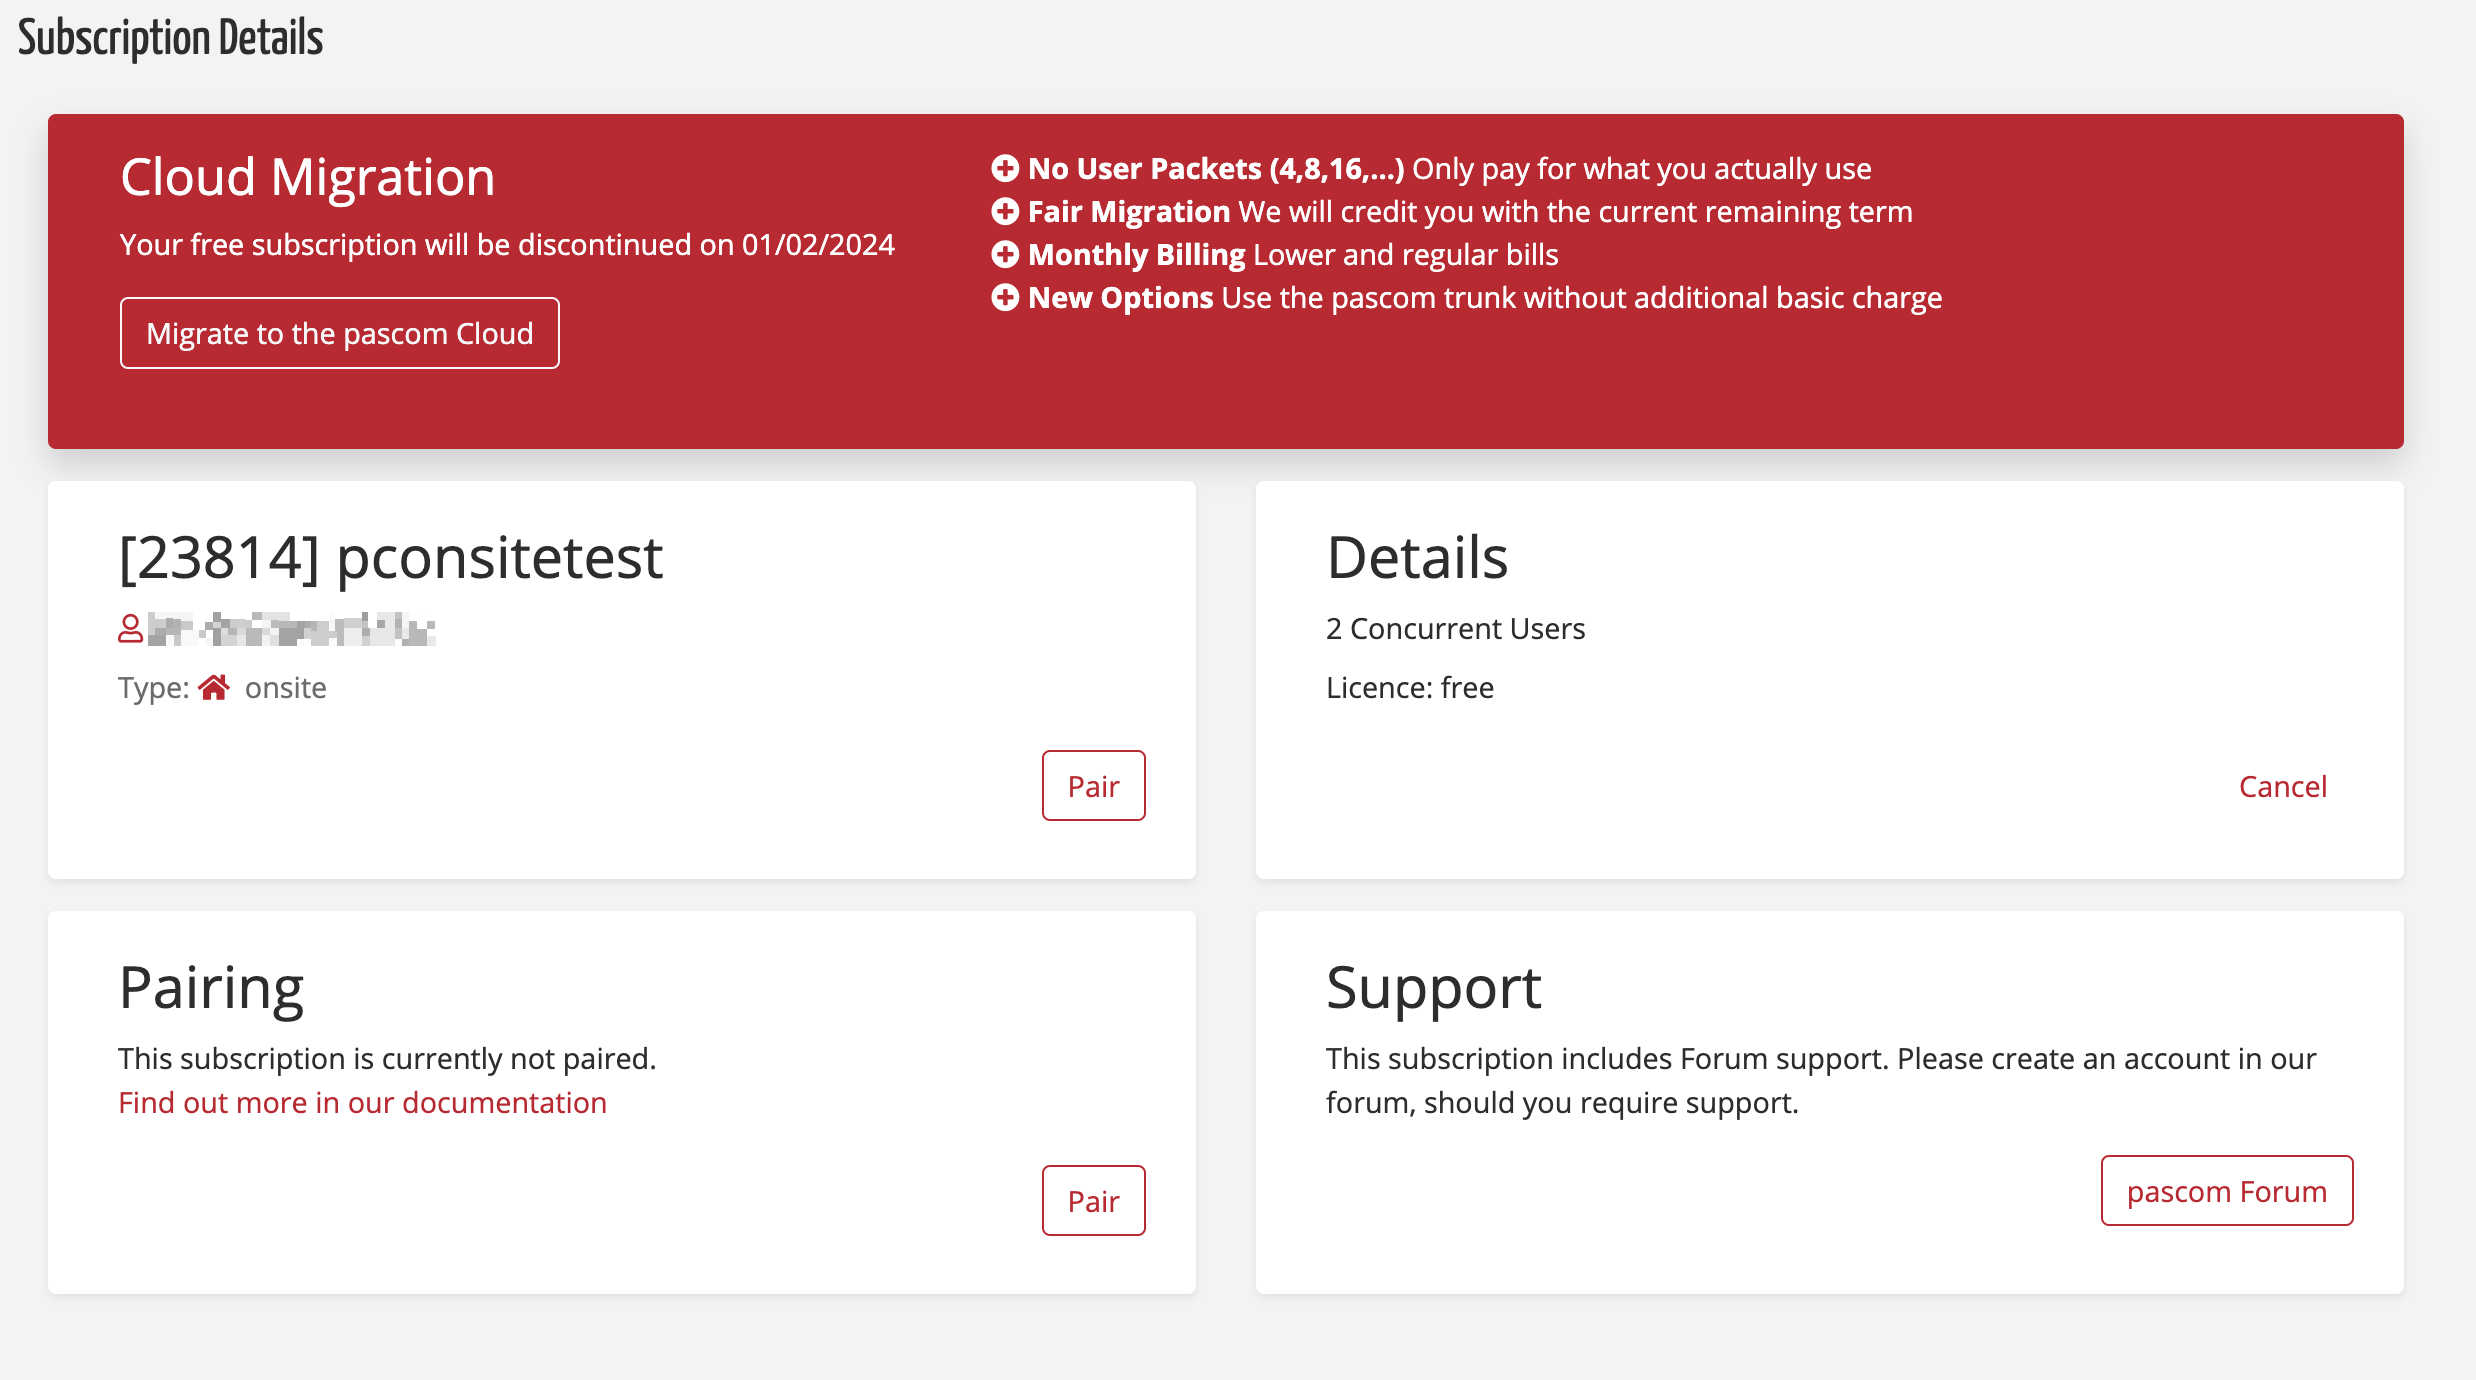
One click migration of an onsite telephone system to pascom ONE
Start the migration by clicking .

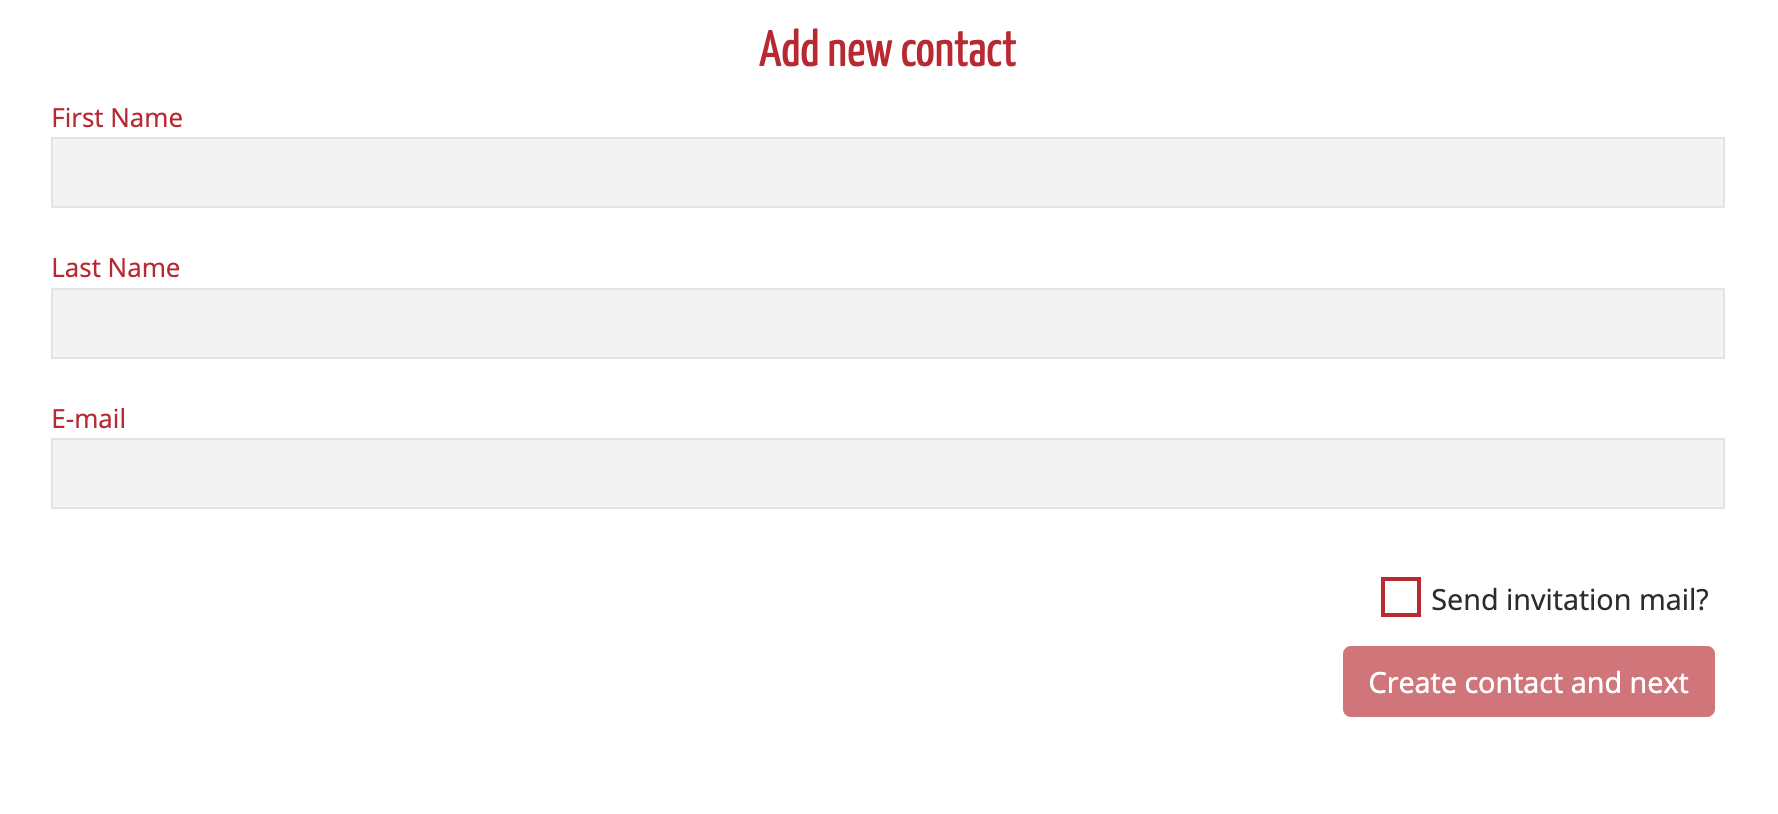
In the next step, add a contact or create a new contact.
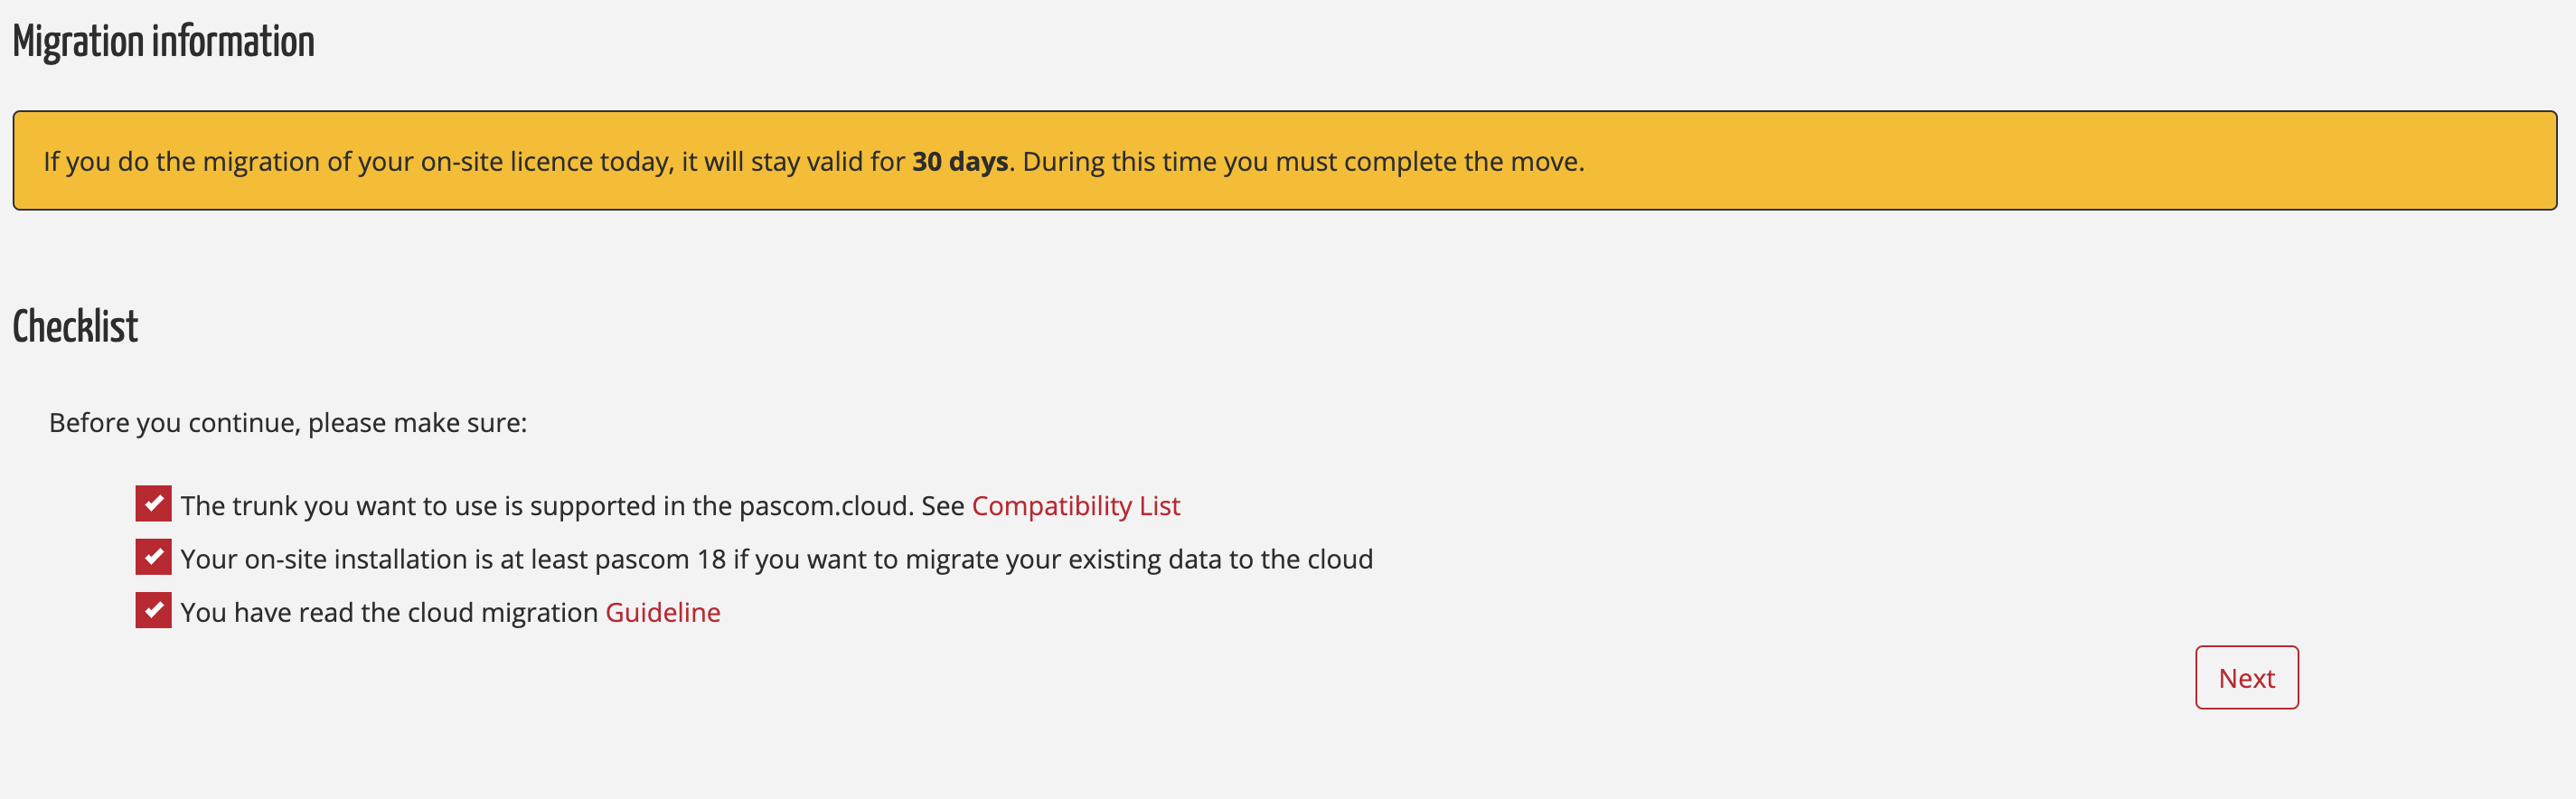
As you have already checked the requirements and preparations at this point, you can click through the checklist and proceed.
In the following steps you will select the number of licenses you need and which SLA you require. You will then receive further information about any money that will be credited to your account as a result of the migration.

Update your invoice address.

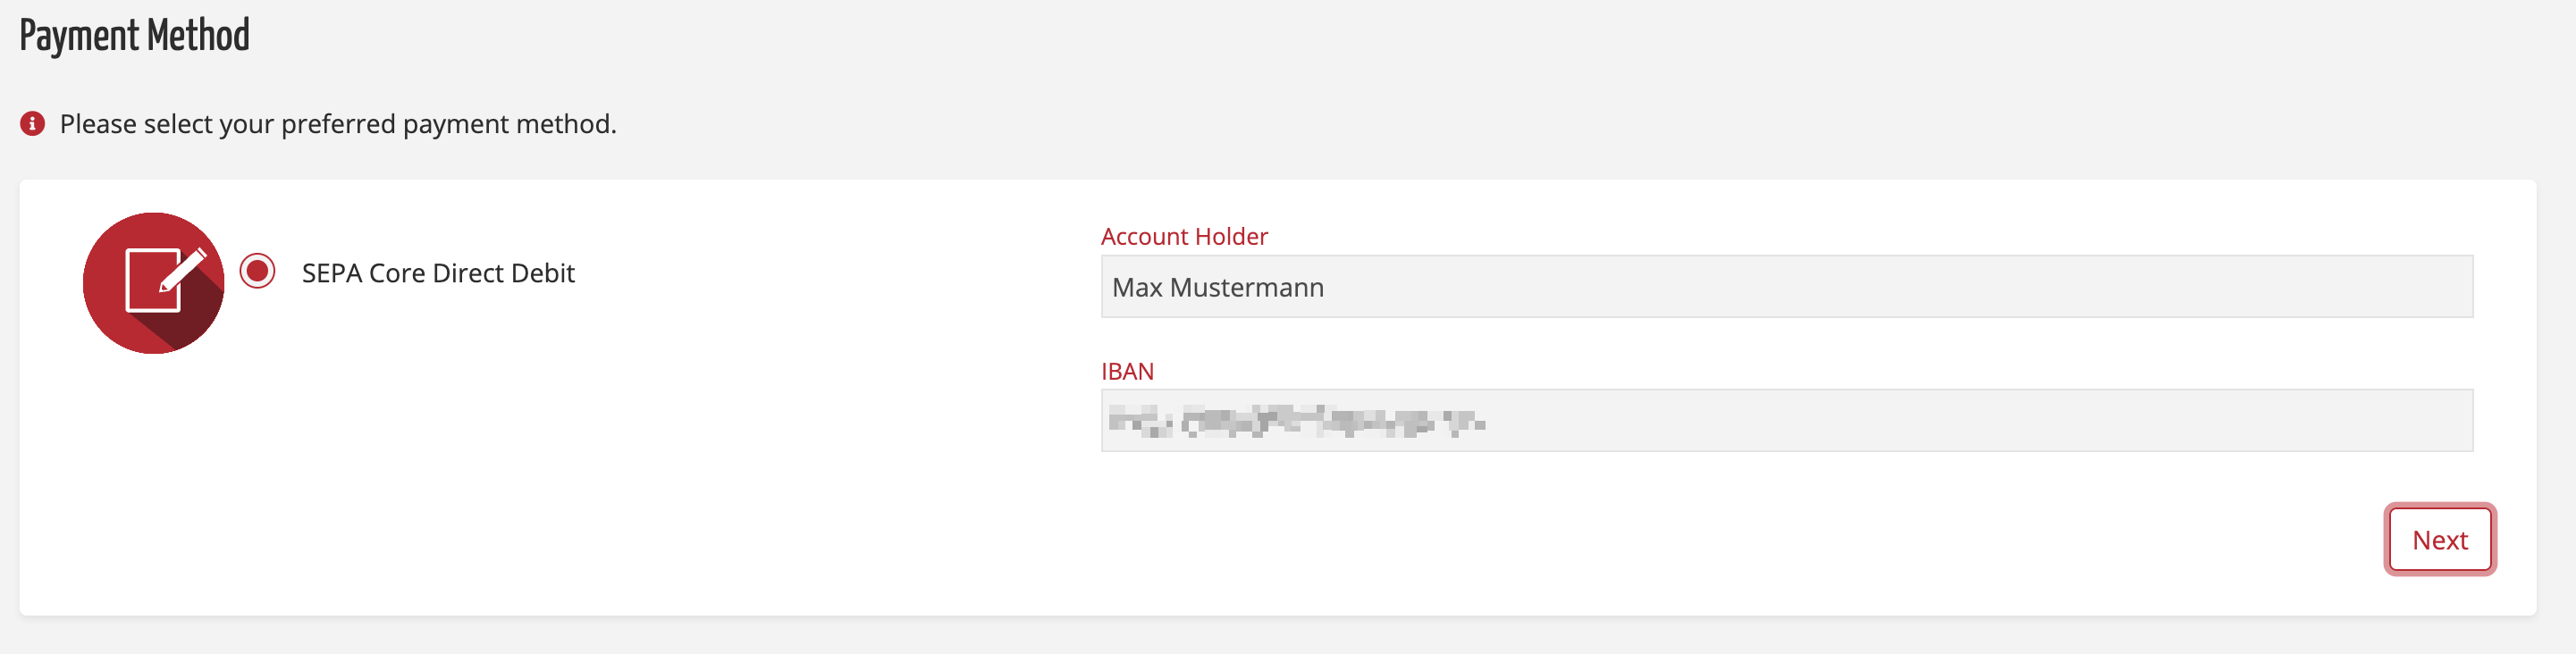
Add your payment data.
In this step you must enter a name for your new pascom ONE Cloud telephone system.
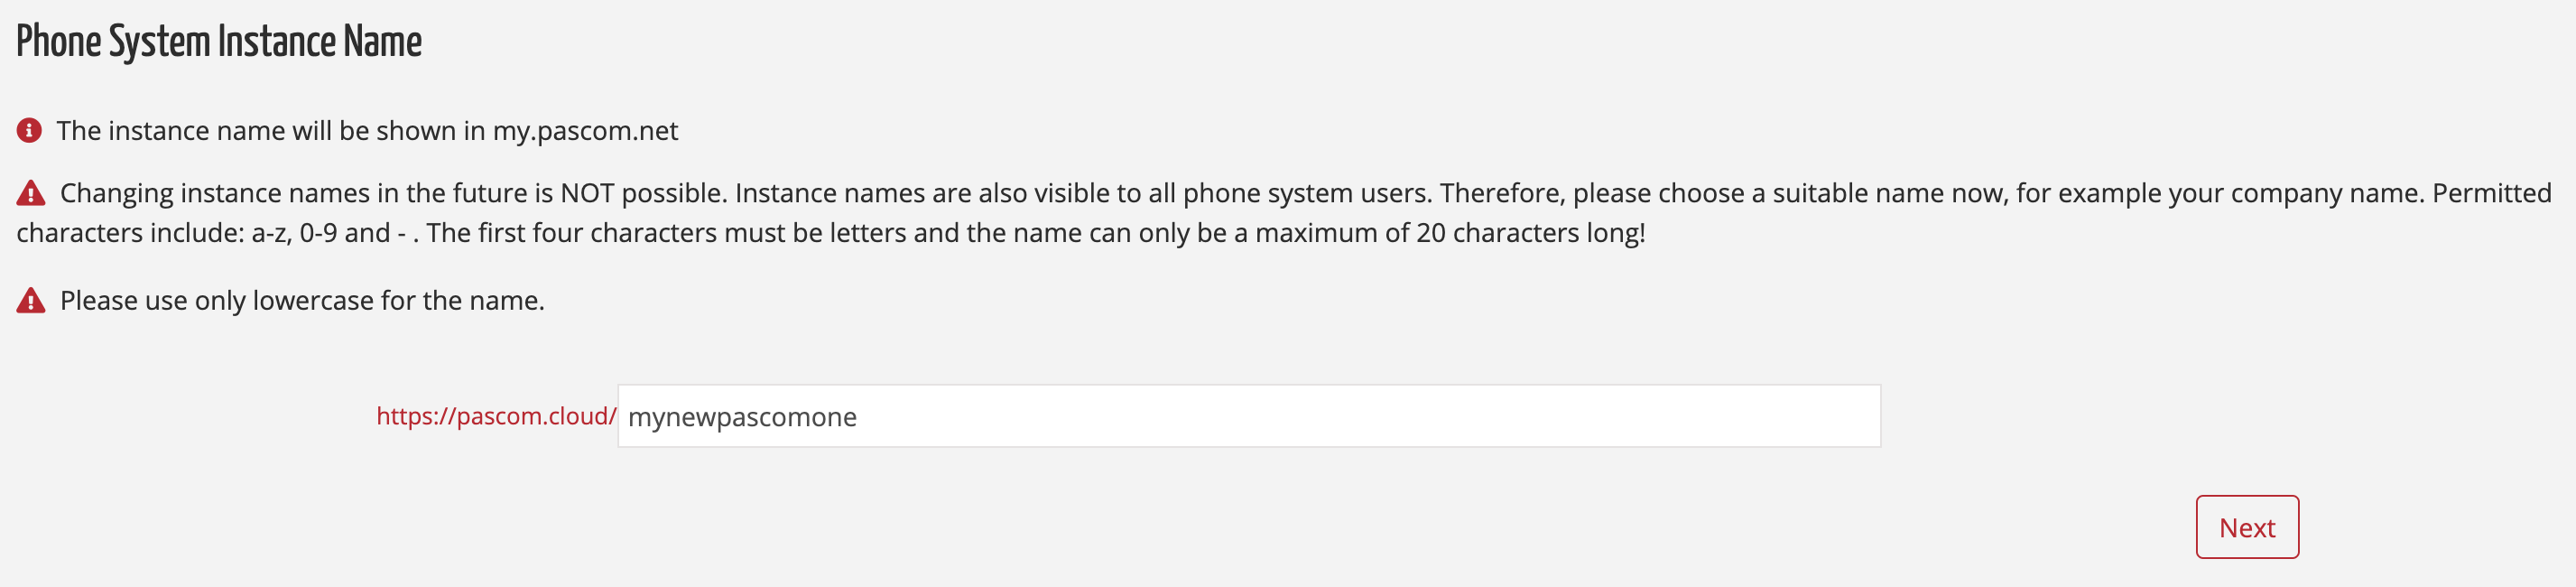
Important:
Please note that the name can not be changed afterwards. Please choose a meaningful name for your phone system and check for any spelling mistakes again. The phone system name is visible for all users.
Finally, you will see an overview your onsite telephone system to pascom.cloud migration.

The migration is now complete and your new pascom ONE phone system is available in the pascom.cloud!
Web Address:
https://pascom.cloud/YourPhoneSystemName
Restore database
Using your previously created onsite telephone system backup, it is now very easy to important your backed up data into your new pascom ONE telephone system and bring it up to the same stand as your old onsite telephone system.
- In the Admin WebUI menu, click and .
- Then select .
- Upload your backup file to your cloud phone system and click .
- In the next overview screen, finally click .
- The recovery will take a few minutes and your phone system will reboot.
- Your new pascom ONE telephone system is now available and will contain all data from your onsite telephone system.
Deactivate Sip Trunk
In case you have restored your trunk settings with the backup, please note that you deactivate or delete the SIP trunk on the onsite telephone system. Many providers do not allow duplicate / multiple registrations of a SIP trunk on multiple phone systems.
Reprovisioning end devices
The end devices contained in the backup file still contain provisioning data from your old onsite telephone system. Therefore, it is now necessary to reprovision hardware phones, gateways, DECT systems, etc. For hardware phones, this can be done using Zero Touch Provisioning. All other devices must be setup manually.
**Setup hardware phones with Zero Touch Provisioning. ** Snom and Yealink phones can be reprovisioned in your new cloud phone system via vendor provisioning.
Check your Firewall in advance if the hardware phones are allowed to communicate with the internet and disable Option66 on your DHCP server to prevent it from interfering with DHCP requests from your hardware phones. Additionally, it is important that your hardware phones support Zero Touch Vendor Provisioning.
- Open the admin interface of your onsite telephone system and the cloud telephone system at the same time.
- Switch to the device list of the onsite telephone system under . - .
- mark all end devices which can be set up by Zero Touch Provisioning.
- click on and in the menu. After that, quickly switch to the Cloud Phone System.

- Navigate to the device list of the Cloud PBX under . - .
- mark all end devices which can be set up by Zero Touch Provisioning.
- click and in the menu. The hardware phones will now communicate with the vendor servers and will be autoprovisioned. In some cases it is necessary to reboot the phones again via and . The provisioning is completed when the green status LED on the end device lights up.

Setup end devices manually.
A manual reprovisioning of your end devices is associated with a small additional effort compared to the auto-provisioning. However, it works with all supported end devices of the pascom cloud telephone system.
Check your firewall in advance if the end devices are allowed to communicate with the Internet.
- open the admin interface of your new Cloud PBX.
- Switch to the device list under - .
- Select the device to be provisioned and click on .

- Copy the provisioning URL and navigate to the web interface of your end device. (For how to access the admin/web interface of your end device, refer to the manufacturer’s manual).

- Store the provisioning URL on your end device. (Server URL, provisioning server, etc.).
- Restart the end device (usually performed automatically after changing the provisioning data).
- Provisioning is complete when the green status LED on the end device lights up.
Reconnect pascom client
With the pascom onsite client you can not login to a cloud phone system. Download the current pascom client here and install it on your system. You can also use the automatic update feature as described in the following.
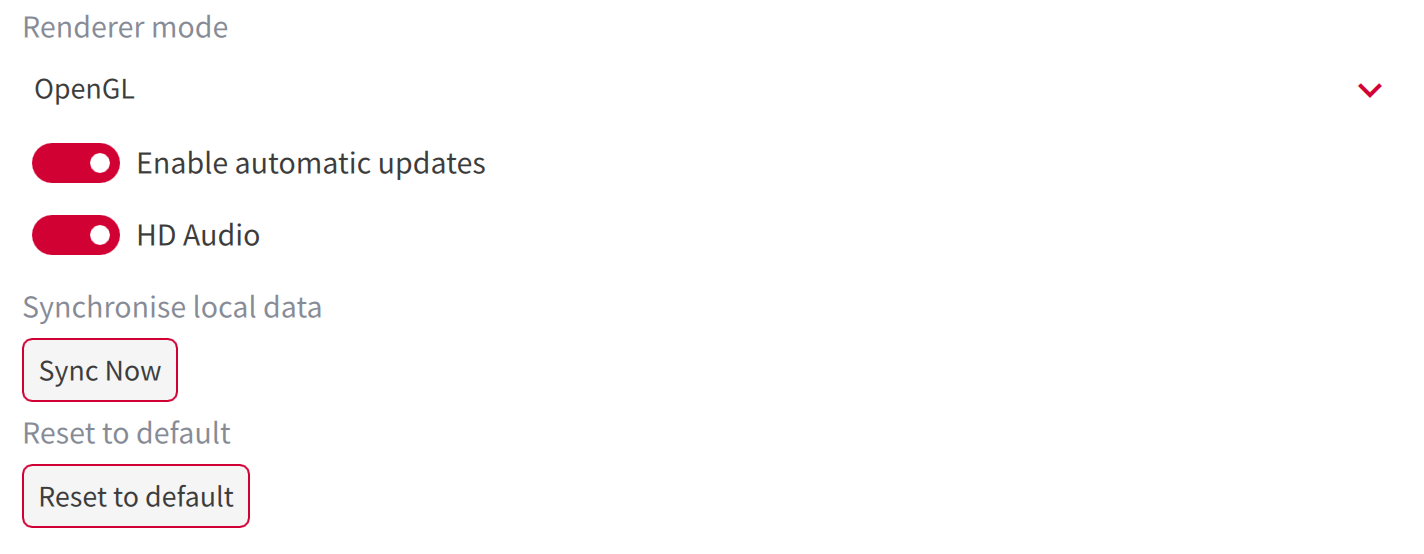
- Go to the of the Pascom onsite client and display the Advanced Settings.
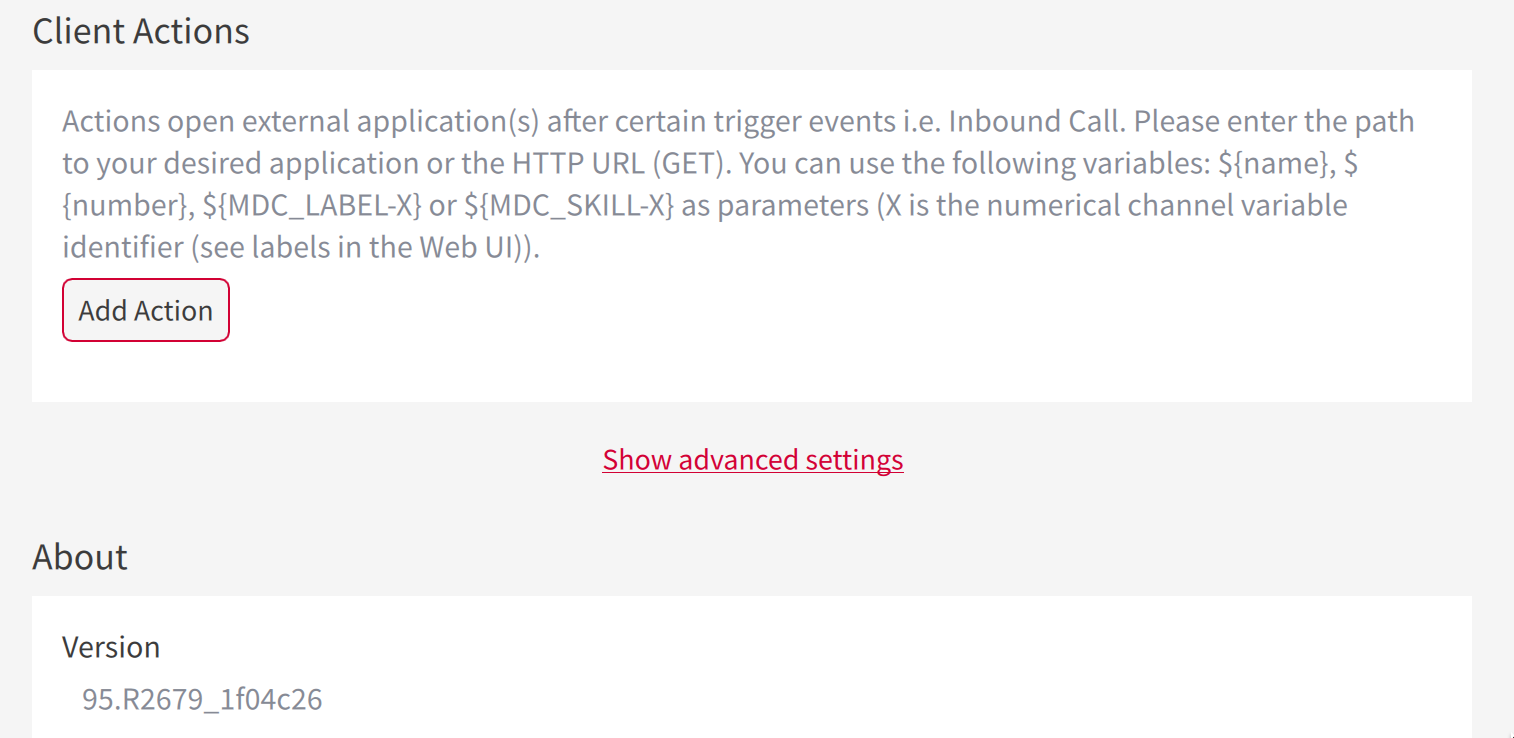
- In the Advanced Settings reset the pascom client with a click on .
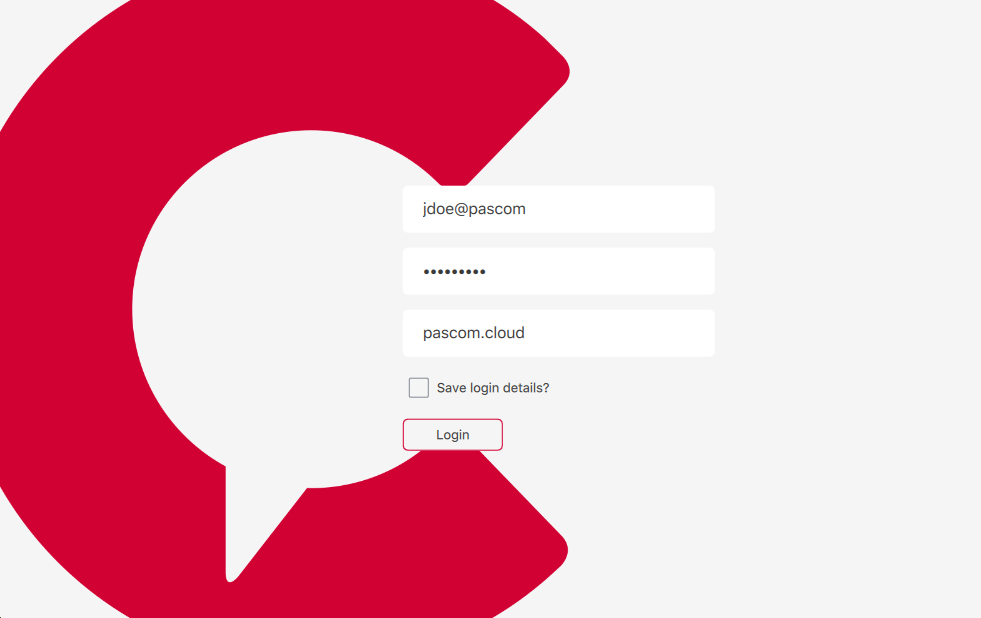
- You will now reach the login screen of the Pascom onsite client. Now log in to the new Pascom Cloud Telephone System with your user credentials.
Please note that you need to enter another @ sign after your username, followed by the name of your cloud phone system. This will tell the Pascom client which cloud PBX you want to connect to.
- The pascom onsite client now detects that you are trying to log in to a pascom Cloud Telephone System and brings the following warning message:

- At the same time the correct update to the current pascom client is displayed in the bottom area. Click and the pascom client will update automatically.

Pairing pascom Mobile Client
By updating the pascom client, the connection / pairing to the mobile app is also lost. If you are using a mobile device with the pascom Mobile Client, the application has to be paired again.
First download the current pascom Mobile Client here. Alternatively, you can also search for the pascom Mobile App in the Play Store or App Store.
The tutorial for pairing the pascom Mobile App can be found here.
New setup of your pascom ONE telephone system
If you do not have a backup of your onsite phone system, the only option is to do a fresh setup. However, this gives you possibility to have a clean start with your telephone system, and allows you to make improvements to the call handling and the option of trying out completely new call elements. Our Support Team can also assist you with the new setup. Talk to us!