Documentation
pascom Cloud Phone System Documentation and Release Notes
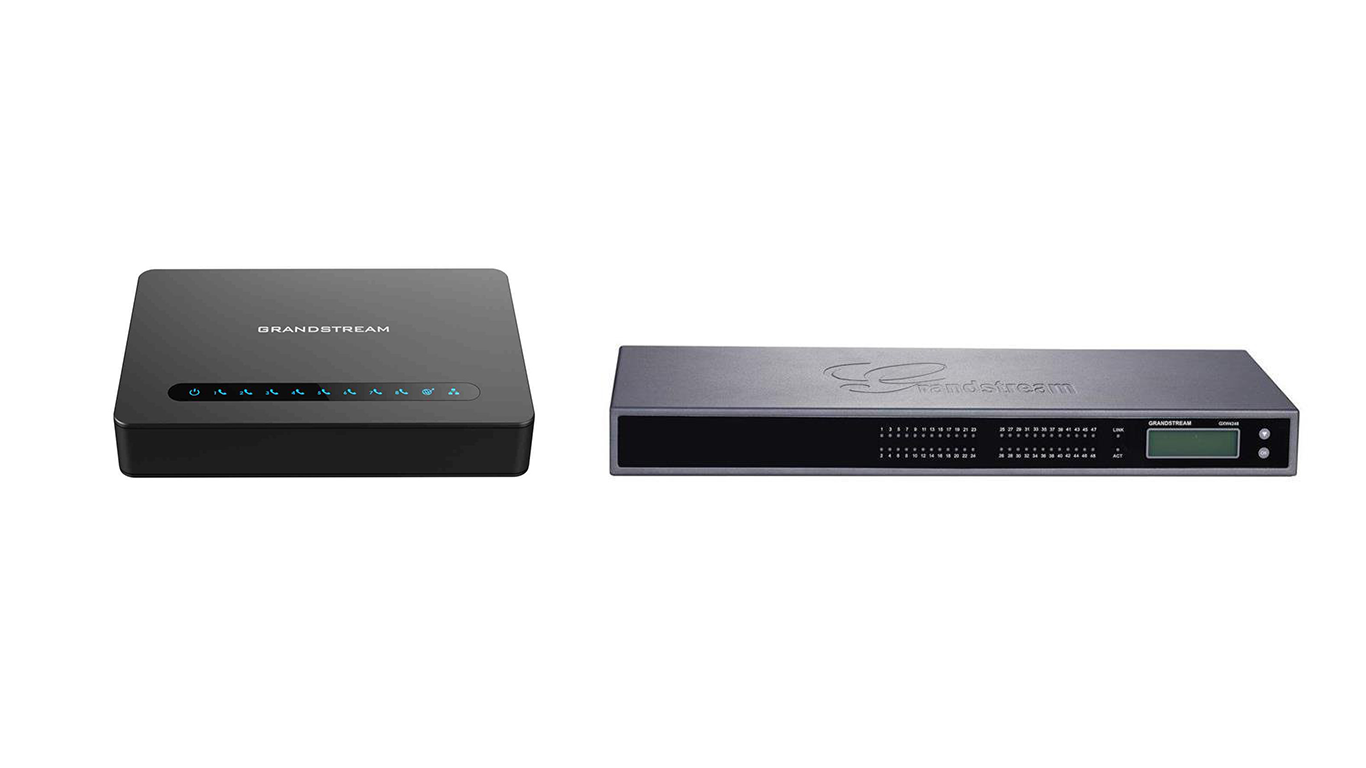
Grandstream HTXXX and GXW42XX
Grandstream ATA adapters provide a cost effective solution for integrating Analog technology such as Fax / Door Intercom systems etc into your pascom phone system.
Grandstream ATA adapters provide a cost effective solution for integrating Analog technology such as Fax / Door Intercom systems etc into your pascom phone system.

Compatibility
| Model | Ports |
|---|---|
| HT802 | 2 |
| HT812 | 2 |
| HT814 | 4 |
| HT818 | 8 |
| GXW4216 | 16 |
| GXW4224 | 24 |
| GXW4232 | 32 |
| GXW4248 | 48 |
| GXW4216V2 | 16 |
| GXW4224V2 | 24 |
| GXW4232V2 | 32 |
| GXW4248V2 | 48 |
| HT801V2 | 1 |
| HT802V2 | 2 |
| HT812V2 | 2 |
| HT814V2 | 4 |
| HT818V2 | 8 |
Provisioning
| Provisioning | Firmware Management |
|---|---|
| Yes | No |
Provisioning: The gateway / adapter will be managed via the pascom phone system.
Firmware Management: Device firmware can not be actualized / updated via the pascom phone system.
Configuration
1. Connect Gateway
If it is not a brand-new gateway, set it in every Fall back to factory settings. To do this at the gateway, switch to the admin interface of the gateway via your browser and perform a Reset there. For further information, please refer to the manufacturer’s manual.
Connect the gateway to the network via the WAN port (Is necessary, but not documented anywhere at Grandstream).
2. Get MAC Address
The MAC address is located on the back of the gateway. For Grandstream with two Ethernet interfaces, the MAC-address of the LAN interface must be used, although the device must be connected to the network via the WAN interface.
Alternatively, surf to the gateway’s admin web interface with your browser or use the user manual.
3. Create Gateway
Log in to your PBX and under > add a new device of type ATA Gateway: Grandstream.
Select the model you have connected.
In the Mac Address field, enter the previously determined MAC address of the gateway.
Enter an individual description.
Finally, click on Next and Create Gateway.
4. Apply Jobs
After saving changes, the job box (above) shows a corresponding entry to use telephony settings. Start the job by a click on the .
5. Get Provisioning URL
Check the Gateway in the Gateway List and choose > . Copy the URL to the clipboard.
6. Enter Provisioning URL at the Gateway
Go to the admin UI of the gateway and store the copied provisioning URL.
Please note: Remove the “https://" from the provisioning URL after copying.

Save the changes and restart the gateway for provisioning. Alternatively, you can restart the gateway also manually remove the power briefly.
7. Creating a new device via SIP and assigning users
Choose under > > > the entry Via Grandstream Gateway: Analog Device via SIP. In the tab select the port on the Gateway to which the device should be connected. Then assign the device to a user via the tab.
8. Test Function
The easiest way to test the successful Setup is to call your own voice mailbox with *100. You should then hear the announcement of your voicemail box.
Problems with provisioning? Occasionally, 3CX’s built-in auto-provisioning feature may block a setup on the pascom.
Deactivate 3CX Auto Provisioning.
If the setup of the gateway on the pascom does not work, the auto-provisioning of 3CX may be activated. This can be disabled via the admin web interface of the gateway.

DHCP Option 66
If your DHCP server has option 66 enabled, you must disable the Override on the Grandstream gateway.
