Documentation
pascom Cloud Phone System Documentation and Release Notes
System Management
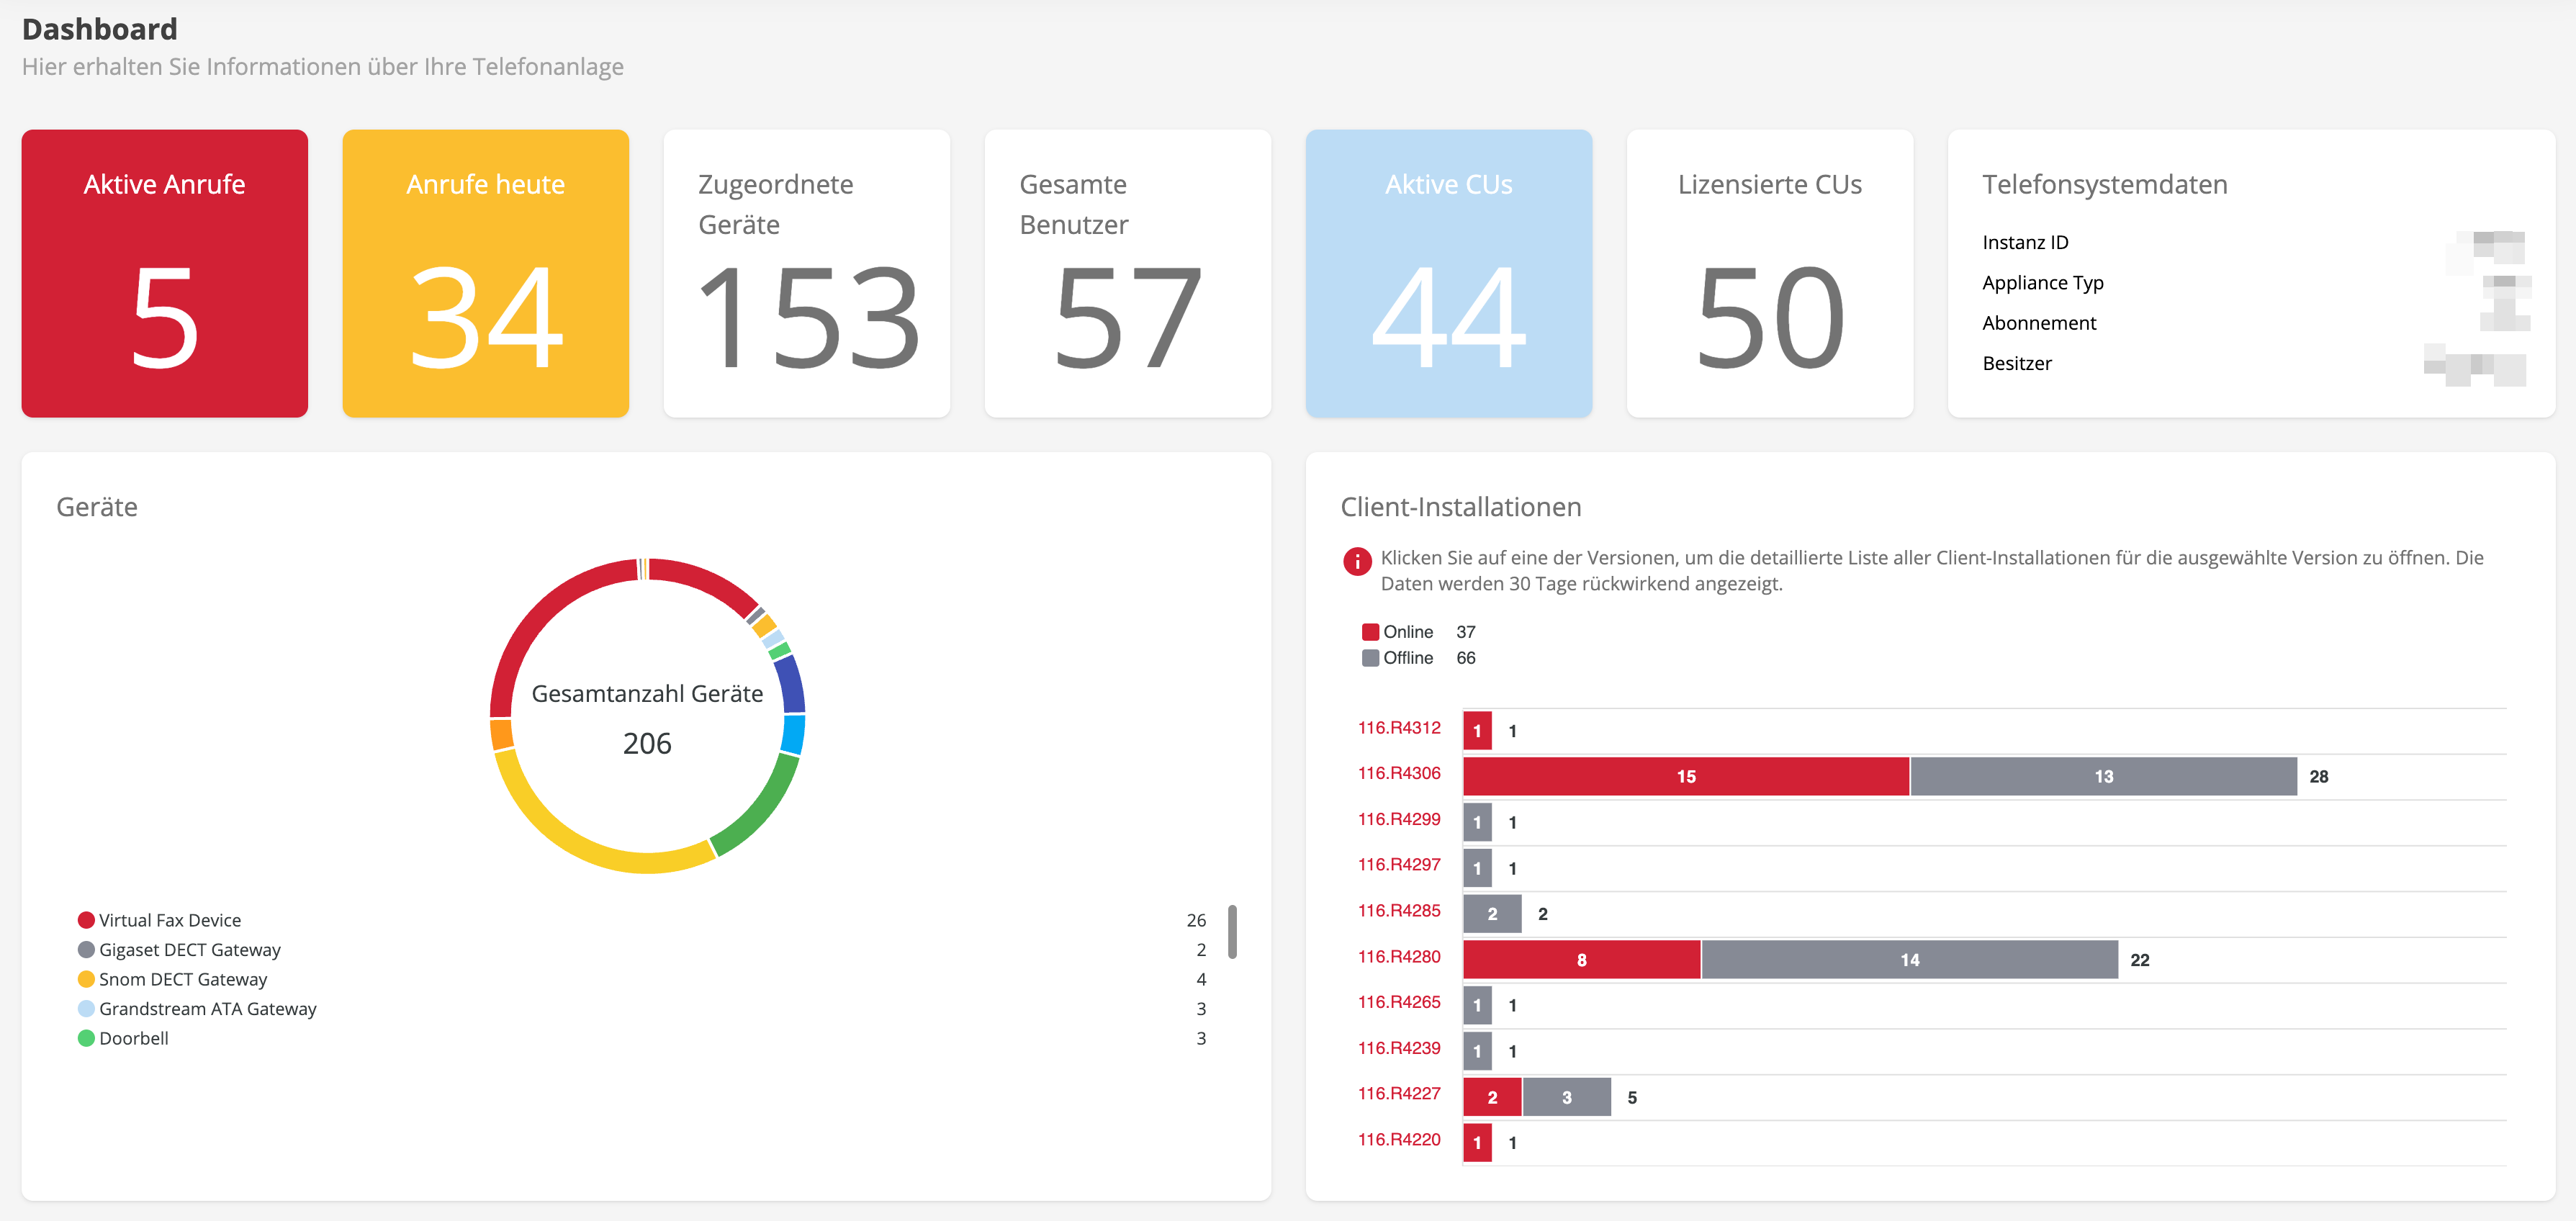
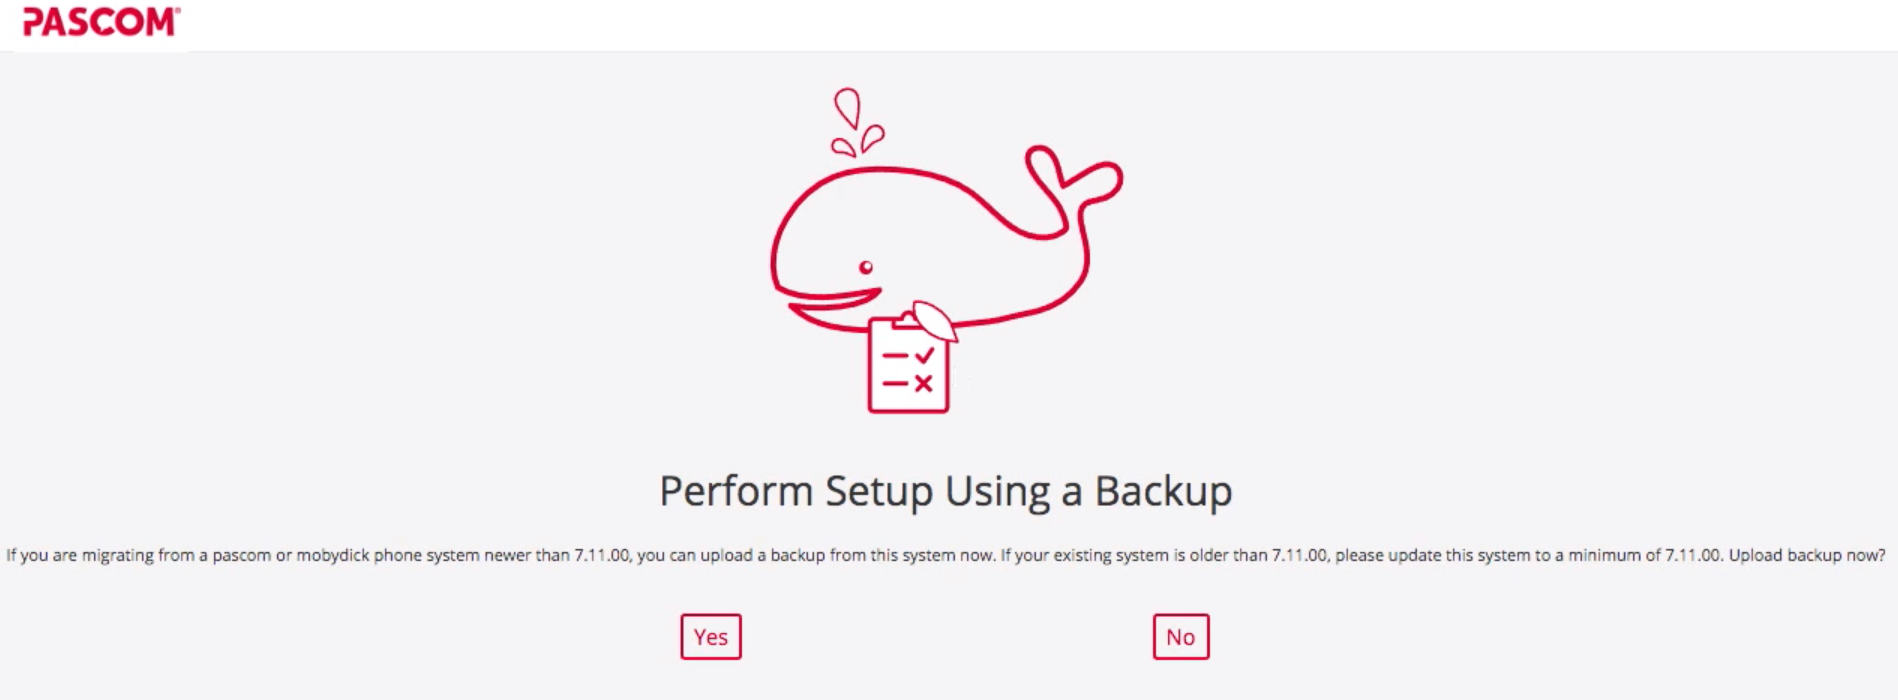
pascom Cloud System, Backup and Restore
Learn how to backup and restore your pascom telephone system.
2 min. read
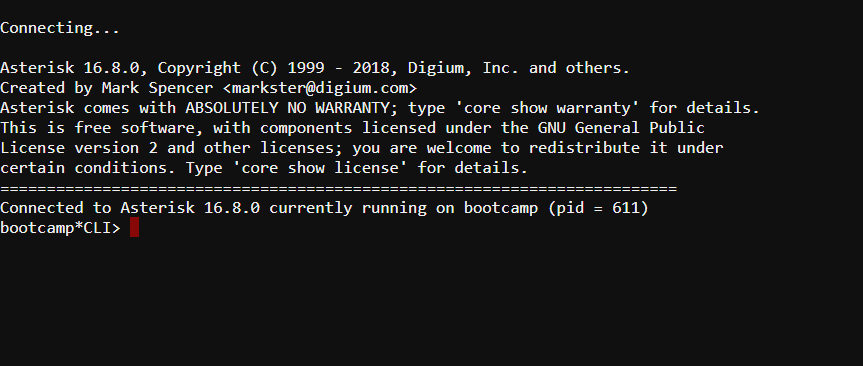
Server CLI (TUI) Interface
Access the TUI (Text User Interface) interface of the pascom server.
1 min. read

Limits and Data Retention in the pascom.cloud
Here you can find an overview of limitations of file sizes, retentions and periods of data storage.
1 min. read
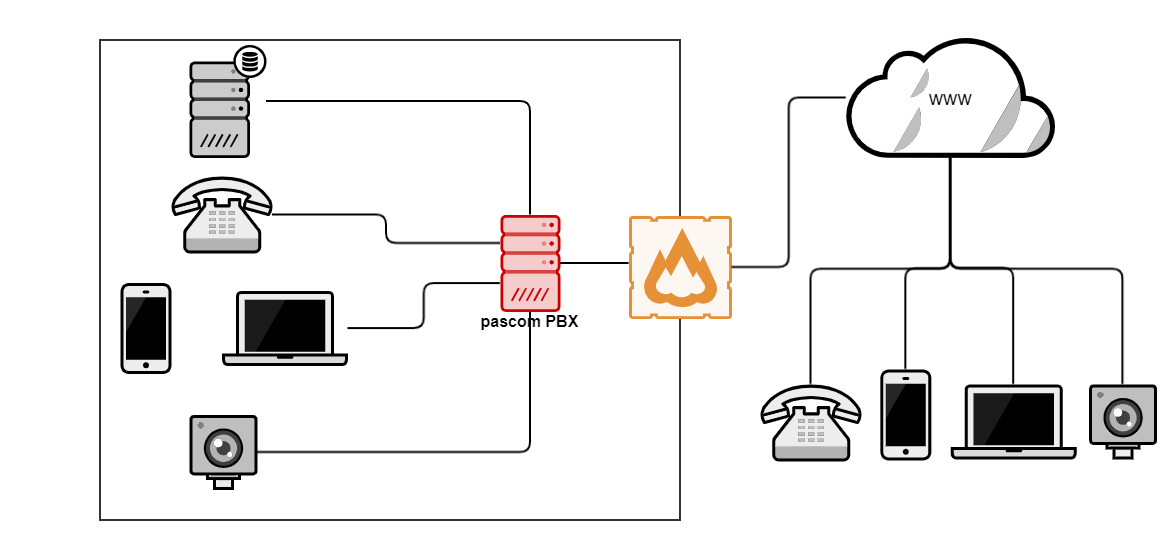
Port Overview | Firewall Configuration
Here you will find an overview of the necessary port clearances in your firewall.
2 min. read