Documentation
pascom Cloud Phone System Documentation and Release Notes
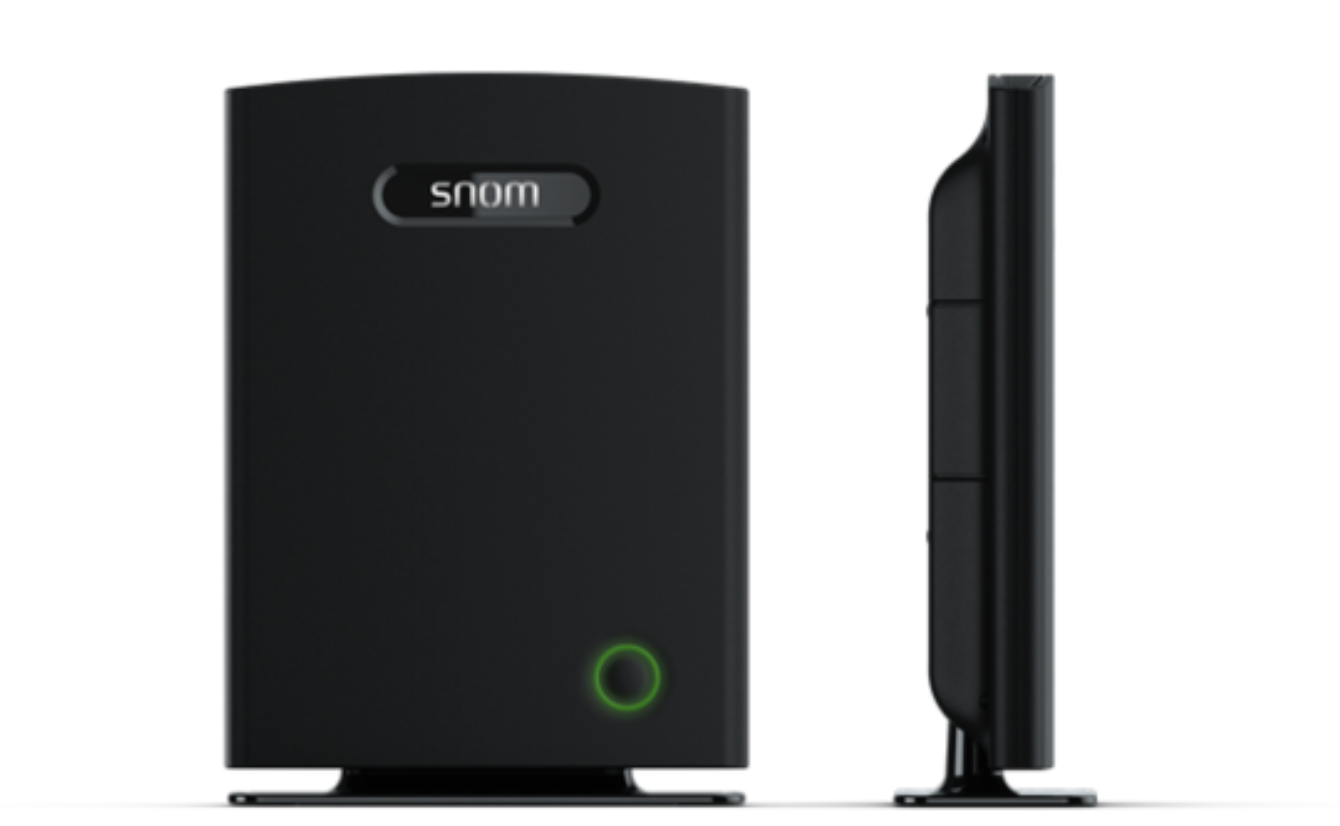
Snom DECT System
Integrate your Snom DECT System with your pascom IP PBX solution.
Integrate your Snom DECT System with your pascom IP PBX solution.

Supported Endpoints
| Models | |
|---|---|
| Snom M400 | Snom M900 |
Overview
The Snom M700 & M900 DECT base stations can be operated in both Single Cell and Multi-Cell deployments. As such the Snom M700 is ideally suited for organisations that require additional work place mobility over multiple floors or across larger company buildings.
Available Channels
| Snom DECT - Single Cell | Snom DECT - Multi-Cell | |
|---|---|---|
| Narrowband (g711, g729, g726) | 10 | 8 |
| Wideband (g722), SRTP aktiviert (g722, g711, g729, g726) | 5 | 4 |
Add a new DECT Base
1. Connect DECT System
Integrate the DECT system into your network.
2. Find the MAC Address
The MAC address can be found on the base station or on an enclosed memo.
3. Add Base Station
Log in to your pascom System and add a new basestation under > of the type SNOM Dect.
Enter the previously determined MAC address of the DECT system in the Mac address field.
4. Apply Jobs
After saving the changes, a job box appears (above). Start the job with a click on the button .
5. Find the Provision URL
Check the DECT System in the device list and select > . Copy that URL to the clipboard.
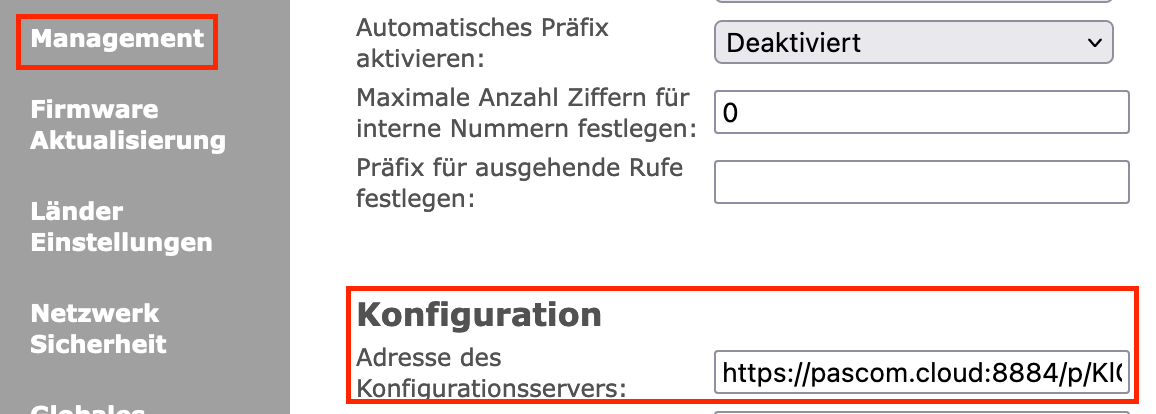
6. Enter the Provisioning URL to DECT base station admin UI
Enter the just copied provisioning URL on the DECT System’s Web UI.

Click on and then on .
Configuring Multi-Cell Operation
Should you wish to network multiple Gateways into a multicell DECT system, simply mark and select all the desired Gateways and click Edit. By using the arrow buttons, you can navigate through all your selected Gateways and then edit them as follows:
Under the option, select the value for one of the Gateways and for all other Gateways, select the option .
Add / Assign Handsets
Under > > , select the option
Ìn the next screen, you will be able to configure the device and under the tab you will be able to assign users and / or locations.
| Parameter | Description | Comments |
|---|---|---|
| Connected to | Select a Gateway to connect to. | In multicell environments, all Gateways configured as a repeater are automatically hidden. |
| IPEI Number | Enter the handset IPEI number which can be found via the handset menu Settings > Status | The first line of the IPEI number is enough, i.e. everything after the colon (:) symbol does not need to be entered. |
| SIP Options | (Optional Step) It is possible to enter all the SIP peer options as supported by Asterisk | Please refer to Asterisk’s SIP Configuration - Peers and Clients Documentation. |
Problems with older Snom DECT firmwares
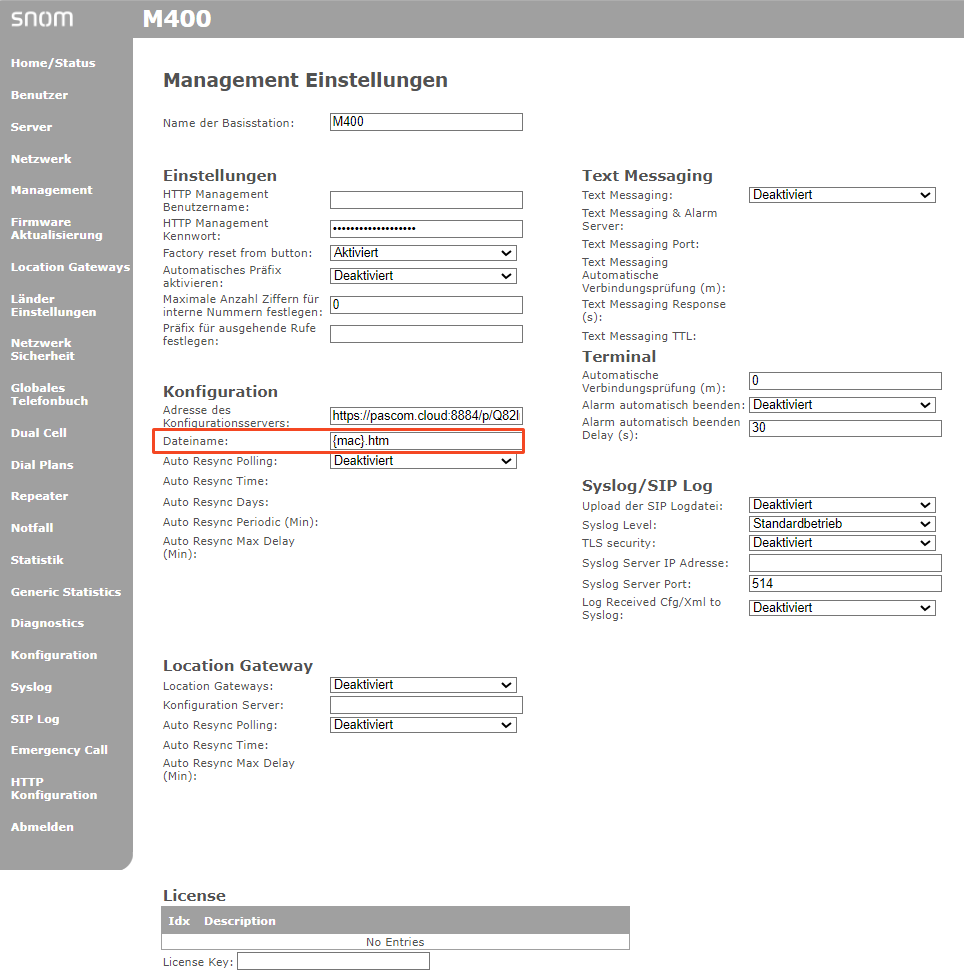
It may happen that provisioning does not work in older firmware versions because the “Filename “ field already contains a value by default.
The Solution:
Log in to the web admin interface of the Snom DECT system and in the “Management settings “ you will find the “Filename “ field. Delete all values manually here.
