Documentation
pascom Cloud Phone System Documentation and Release Notes
Send and receive faxes
In this Tutorial we will show you how to send and receive faxes and how to fully automate fax transmission.
Trainings Video
Overview
The fax functions of the pascom telephone system are very extensive. A user can use a virtual fax machine or a physical fax machine that is located in your office. Don’t worry - the handling is the same for both variants. You probably won’t even notice what kind of device you are faxing on.
But there is a small difference
- Use a virtual fax machine, receive faxes directly into your email inbox. With a physical fax machine in the office, in most cases you will have to run to the fax machine when a new fax arrives.
Send a new fax
Click on the in the dialing field of the Telephony area. Of course you can also start a new fax transmission directly from your phone book.
 Start and create new fax transmission
-
In the next step, select the that you want to send by fax.
-
Enter the to which you want to send the document. If you send it from the phone book, the fax number is already in the dialing field.
 Send a new fax
-
To the email address for the notification you will receive the fax transmission report
-
A unique Job_ID is created by the pascom telephone system for each fax transmission.
-
The Job title behaves like a subject. The document name of the file you want to send is the default. But you can also change the with a click on it.
Partial automation of faxing
You can automate faxing with the pascom client to fax documents directly from a text editor program.
How does it work?
- You write a fax document in a word editor program.
- Save the document as a PDF file in a watched folder.
Set up a folder monitoring
To automate fax transmission, the pascom client monitors a folder on your computer. If new fax documents are saved there, fax transmission starts automatically.
-
Open the via the pascom menu.
-
Select from the menu or scroll down to the settings PDF to Fax.

In the Fax to PDF settings, set a new folder with a click on . Select an existing folder or create a new folder e.g. Faxes.
Save new PDF documents to the monitored folder
- As soon as you save a new PDF document in this folder, the Fax transmission starts automatically. You only have to enter the Fax number in the dialing field.
Fax transmission starts automatically when a new PDF document is saved
Full automation of faxing
In order to use fully automatic fax transmission, your PDF documents must have control field parameters so that fax transmission works automatically in the background.
How does it work?
- You write a fax document in a word editor program.
- Insert control field parameters.
- Save the document as a PDF file in a watched folder.
Make settings for automation
First set up a folder monitoring as described above. Then activate the option .
 Activate automatic sending
-
Make sure that the Ghostscript tool is installed on your computer. This tool is required to control PDF files. Click on to set the path to the installation folder automatically.
-
The Send Delay delays in seconds the time when the Fax transmission starts automatically.
-
Test the configuration
Set control field parameters in documents
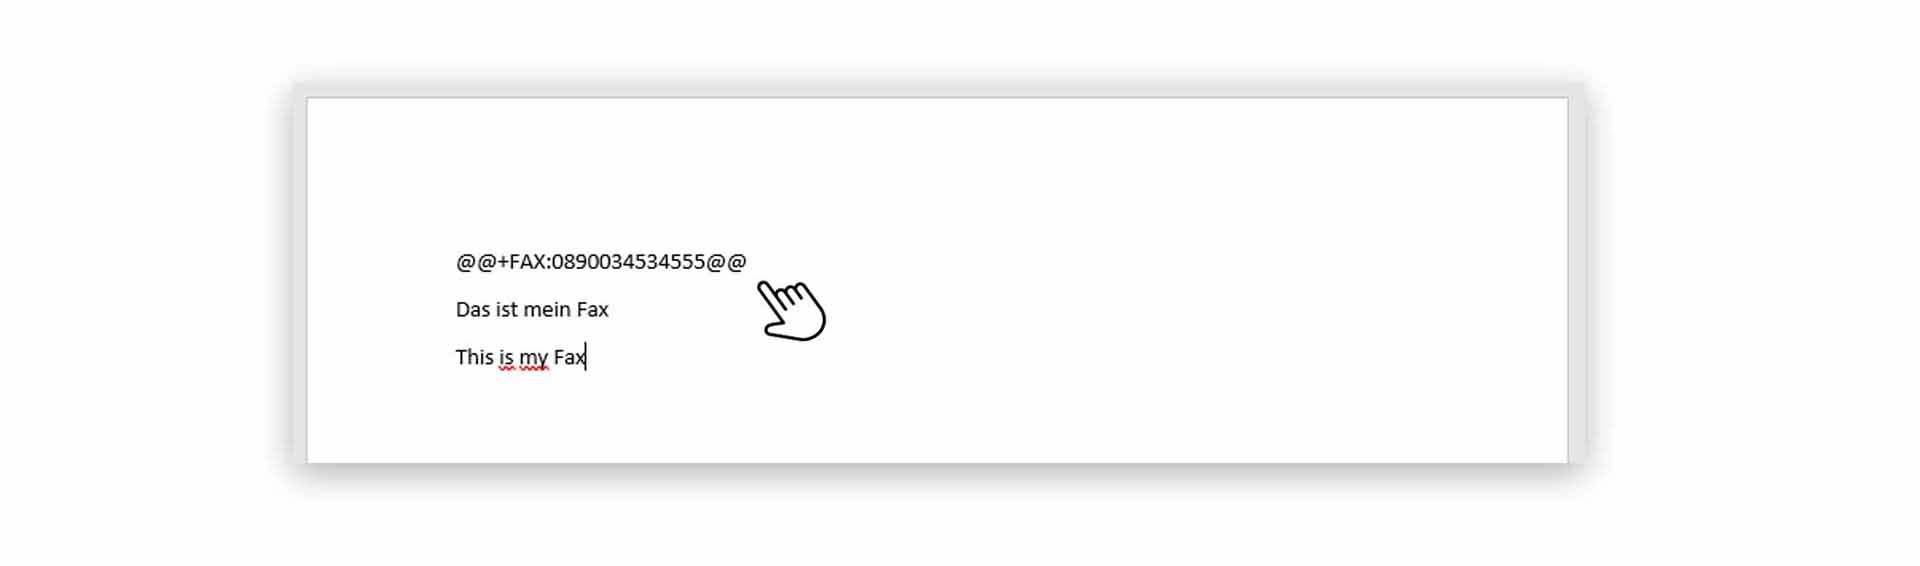
In your document, insert as first line (like a fax header) the control field parameters.
 Control field parameters in a fax document
| Available controls | |
|---|---|
| @@+FAX:+49991123456789@@ | The fax must contain at least this control character with the destination number. |
| @@+TAG:Bestellung XYZ@@ | Optionally, the fax job can be provided with a subject. |
| @@+NOTIFY:mustermann@musterfirma.de@@ | Optionally, you can specify who should be notified of the status of the fax job. |
- Save your fax document as PDF file in the monitored folder and the fax transmission will start automatically in the background.
Receiving Faxes
Faxes are always received via the virtual fax as emails, which land directly in your email inbox. If your system administrator has set up your email address.
If you use a Team Fax, you will receive new faxes in the team email box.
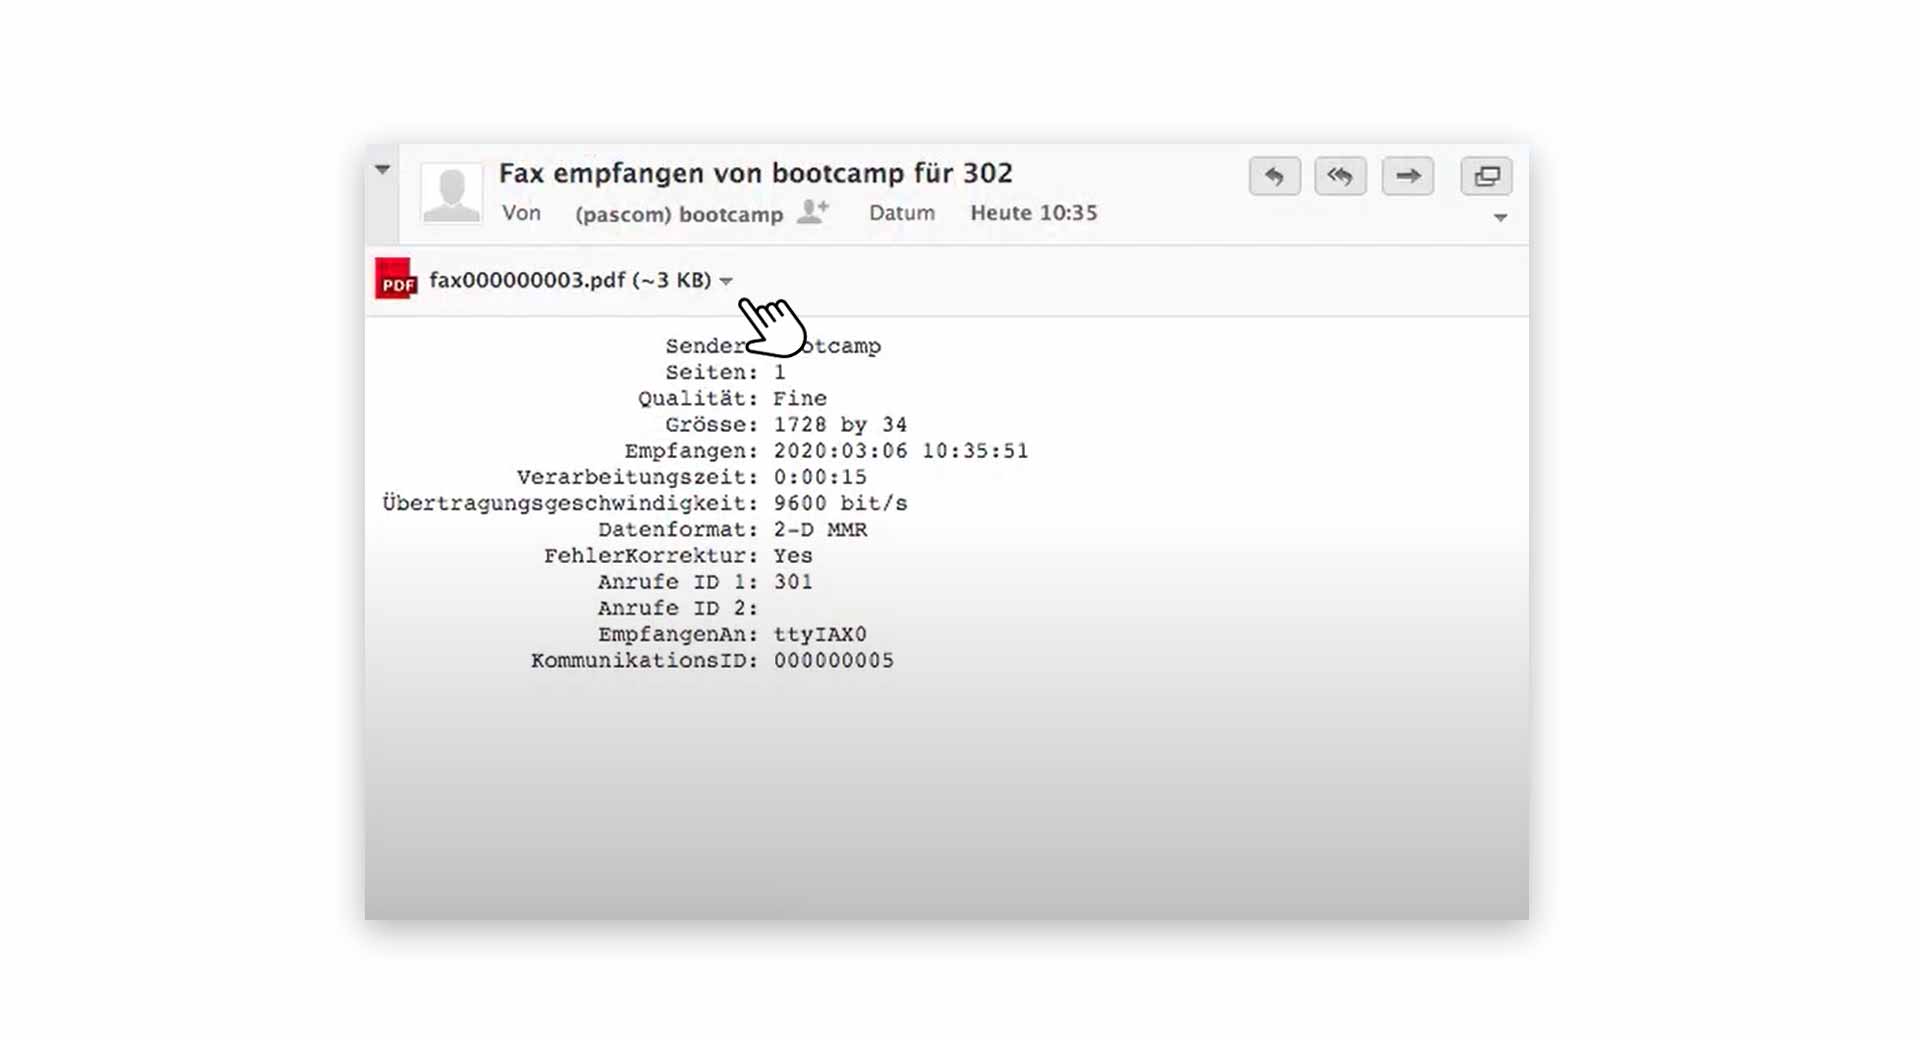 Received fax in email inbox
- The actual fax document is available as PDF file attached to the email.
- Additionally you have a Fax Report in the email.