Documentation
pascom Cloud Phone System Documentation and Release Notes
The Phonebook
Learn everything you need to know about using the pascom telephone book
Trainings Video
Overview
The pascom phone book is designed to contain a company-wide global phone book and a private phone book for each individual user. This prevents users from storing their private data in the company phone book. System administrators and phone book administrators take care of global phone book entries and you can manage your own records.
- When an incoming call is received, the system first searches for a matching contact in your private phone book. If the system does not find it, it will search the global company phone book for a matching entry. So you can overwrite company entries with your private data and only you can see this data.
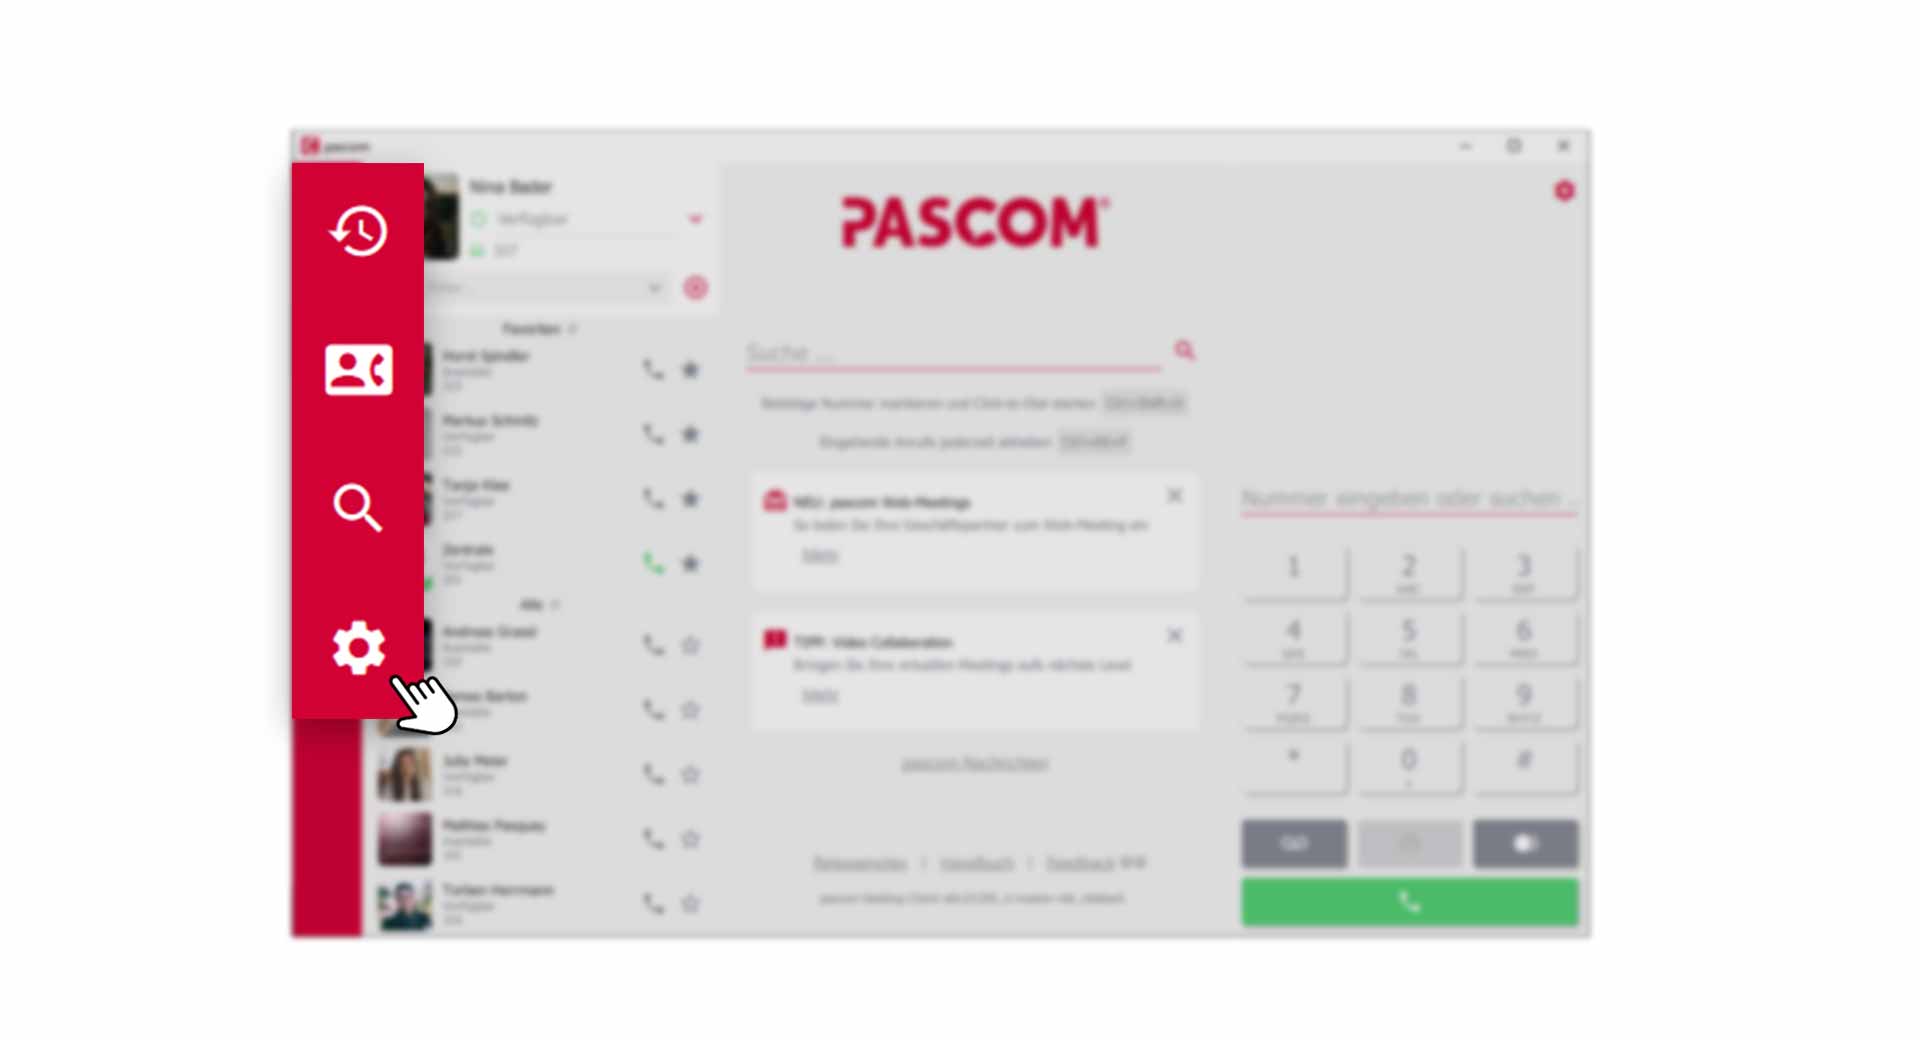
Open the Phonebook
Click on the icon in the menu bar to open up the telephone book.
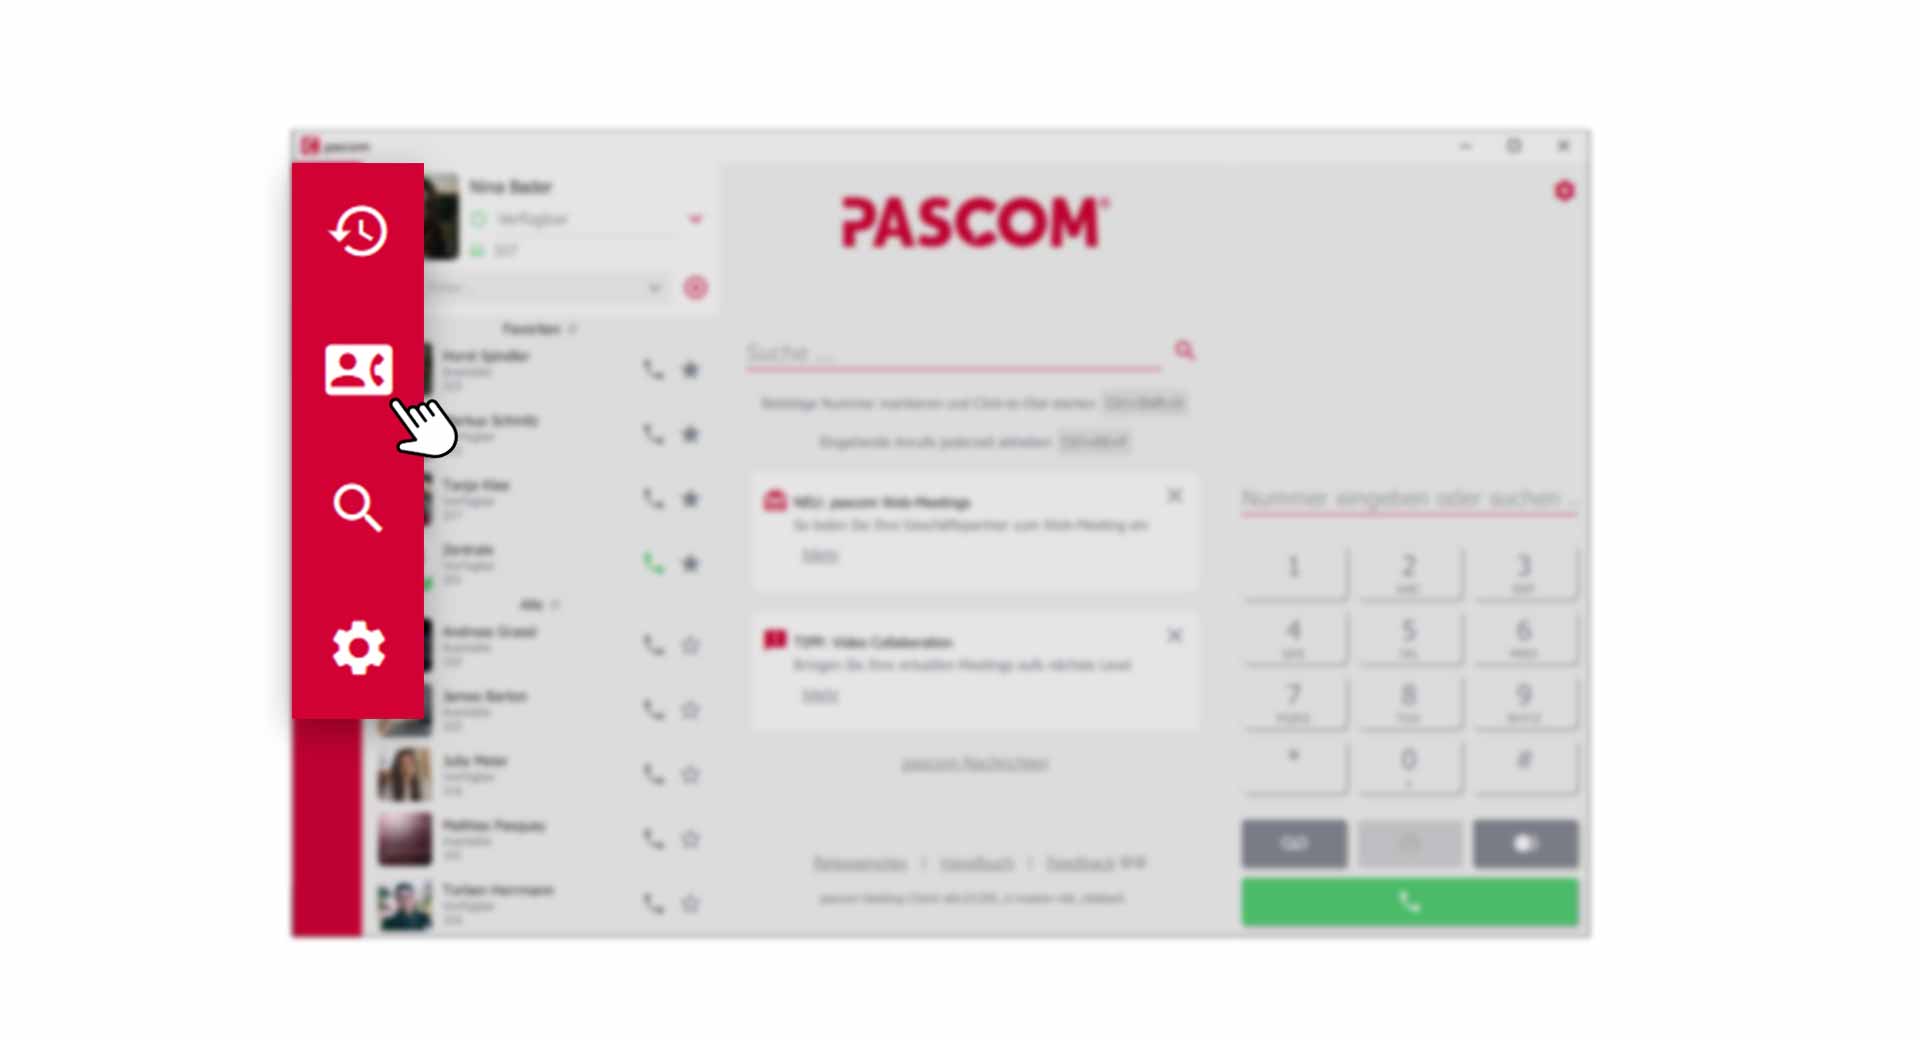 Open Phonebook via the pascom Menue
Overview of the private and global Phonebook
Using the menu item in the upper left corner of the phone book, you can switch between your private and global phone book with one click.
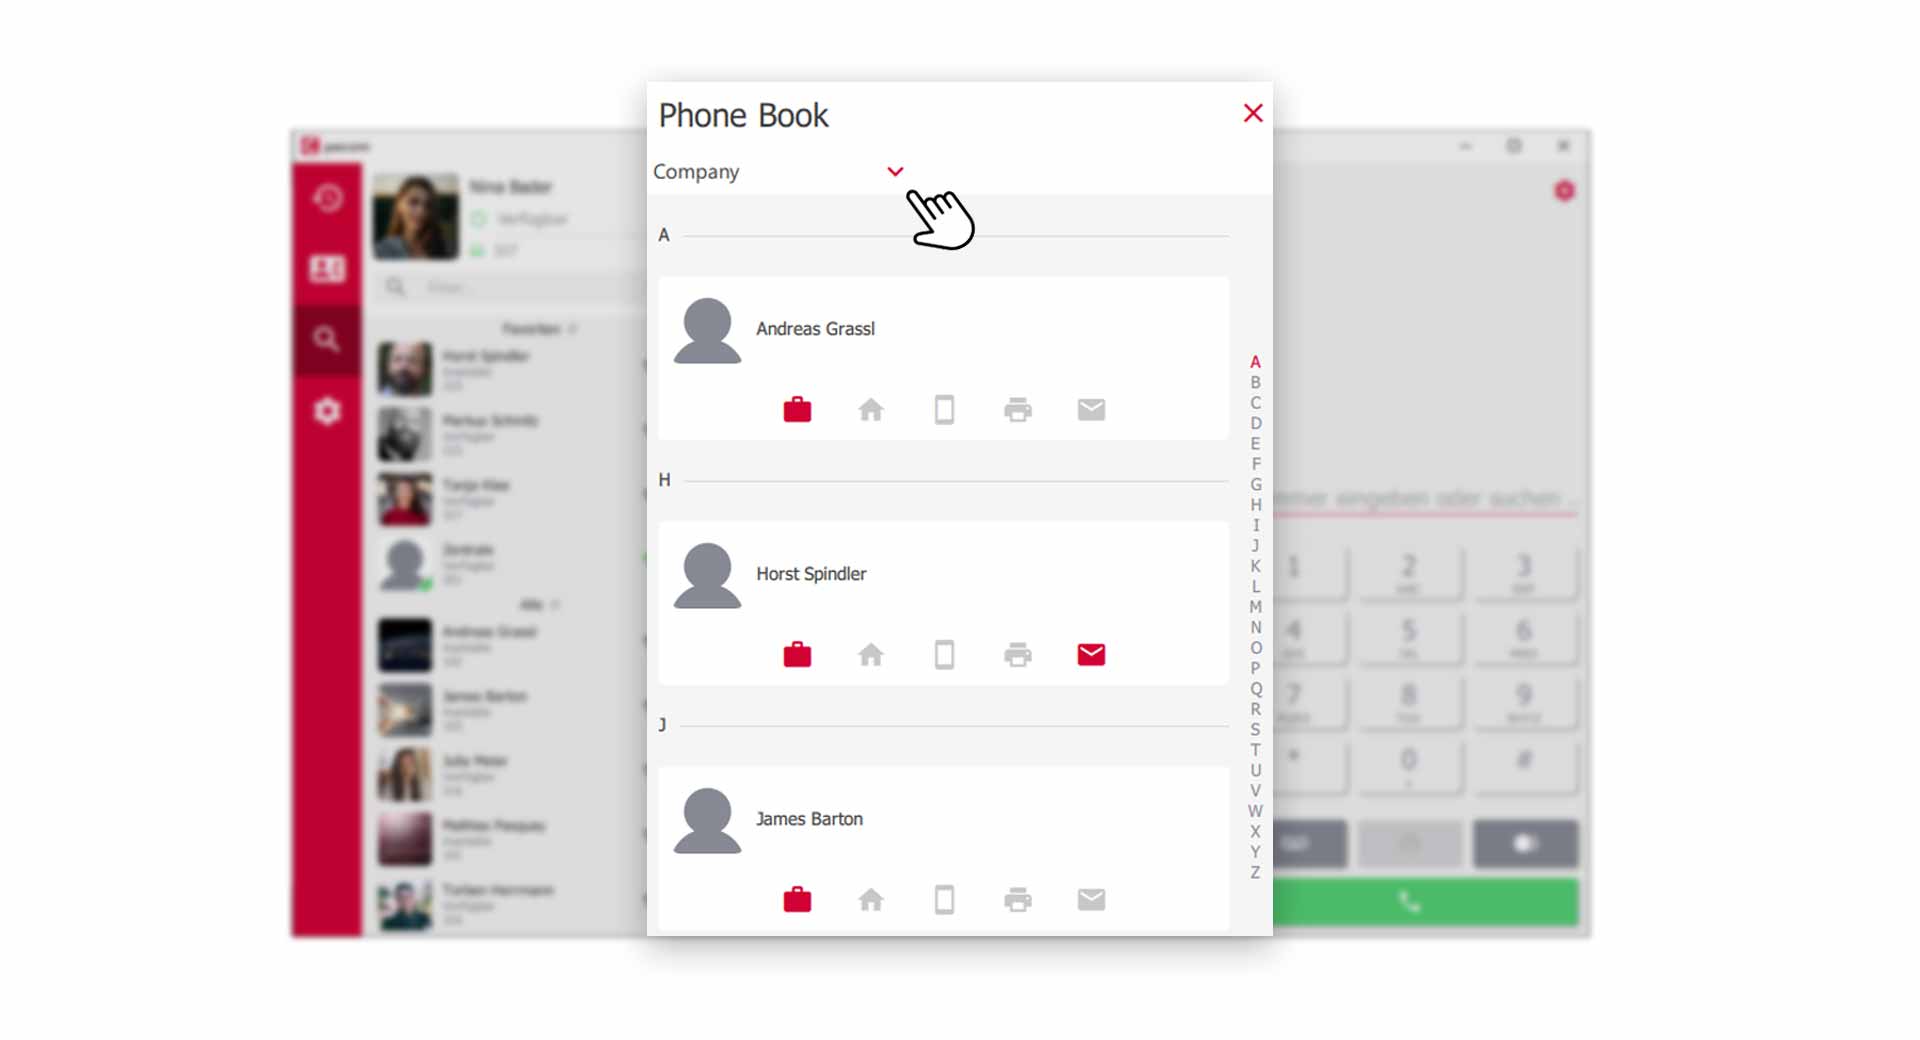 Overview of the Phonebook
All contacts are clearly displayed in a kind of business card. From here you have immediate access to important contact types, which we will explain briefly below.
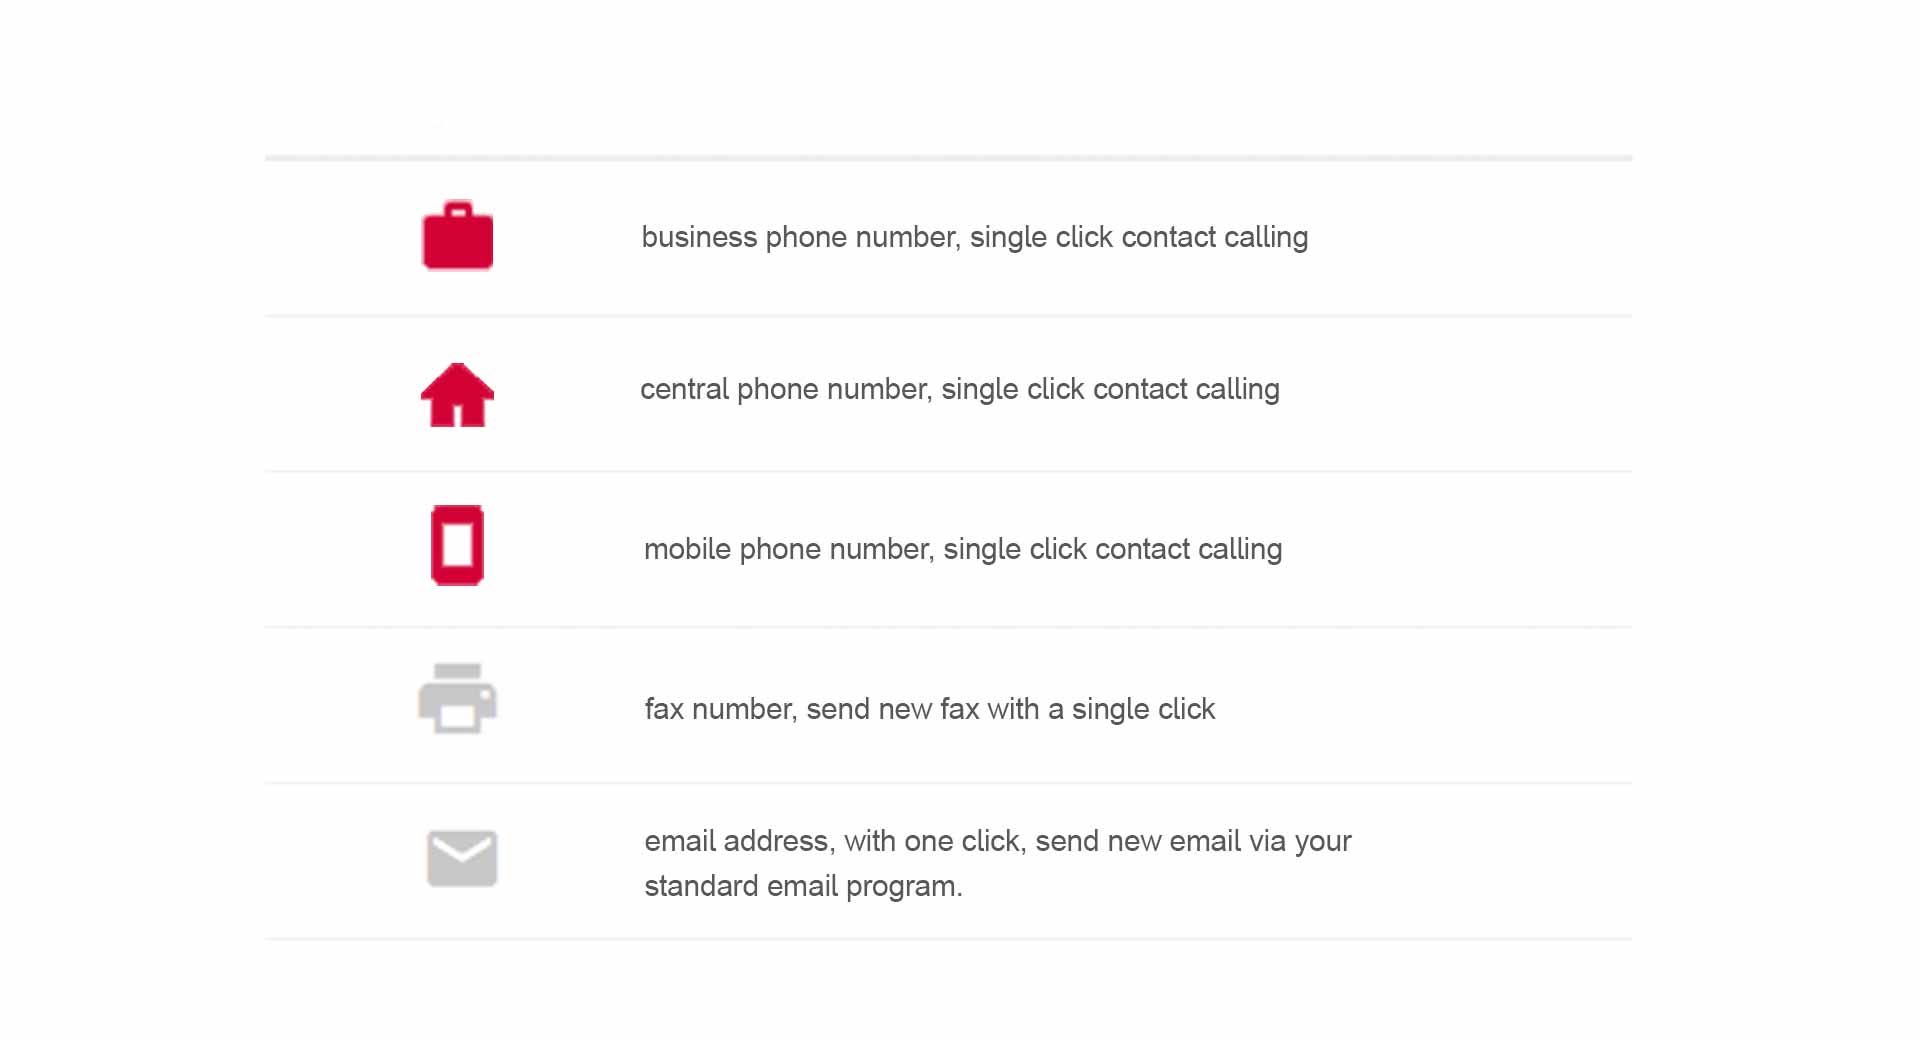 Symbols of the Phonebook explained
As you can see in the above graphic, there are colored and greyed symbols that indicate whether the corresponding contact type contains data or not.
Details of an Phonebook entry
Each contact in the phone book contains additional information. Click on a and you will get to the detail view.
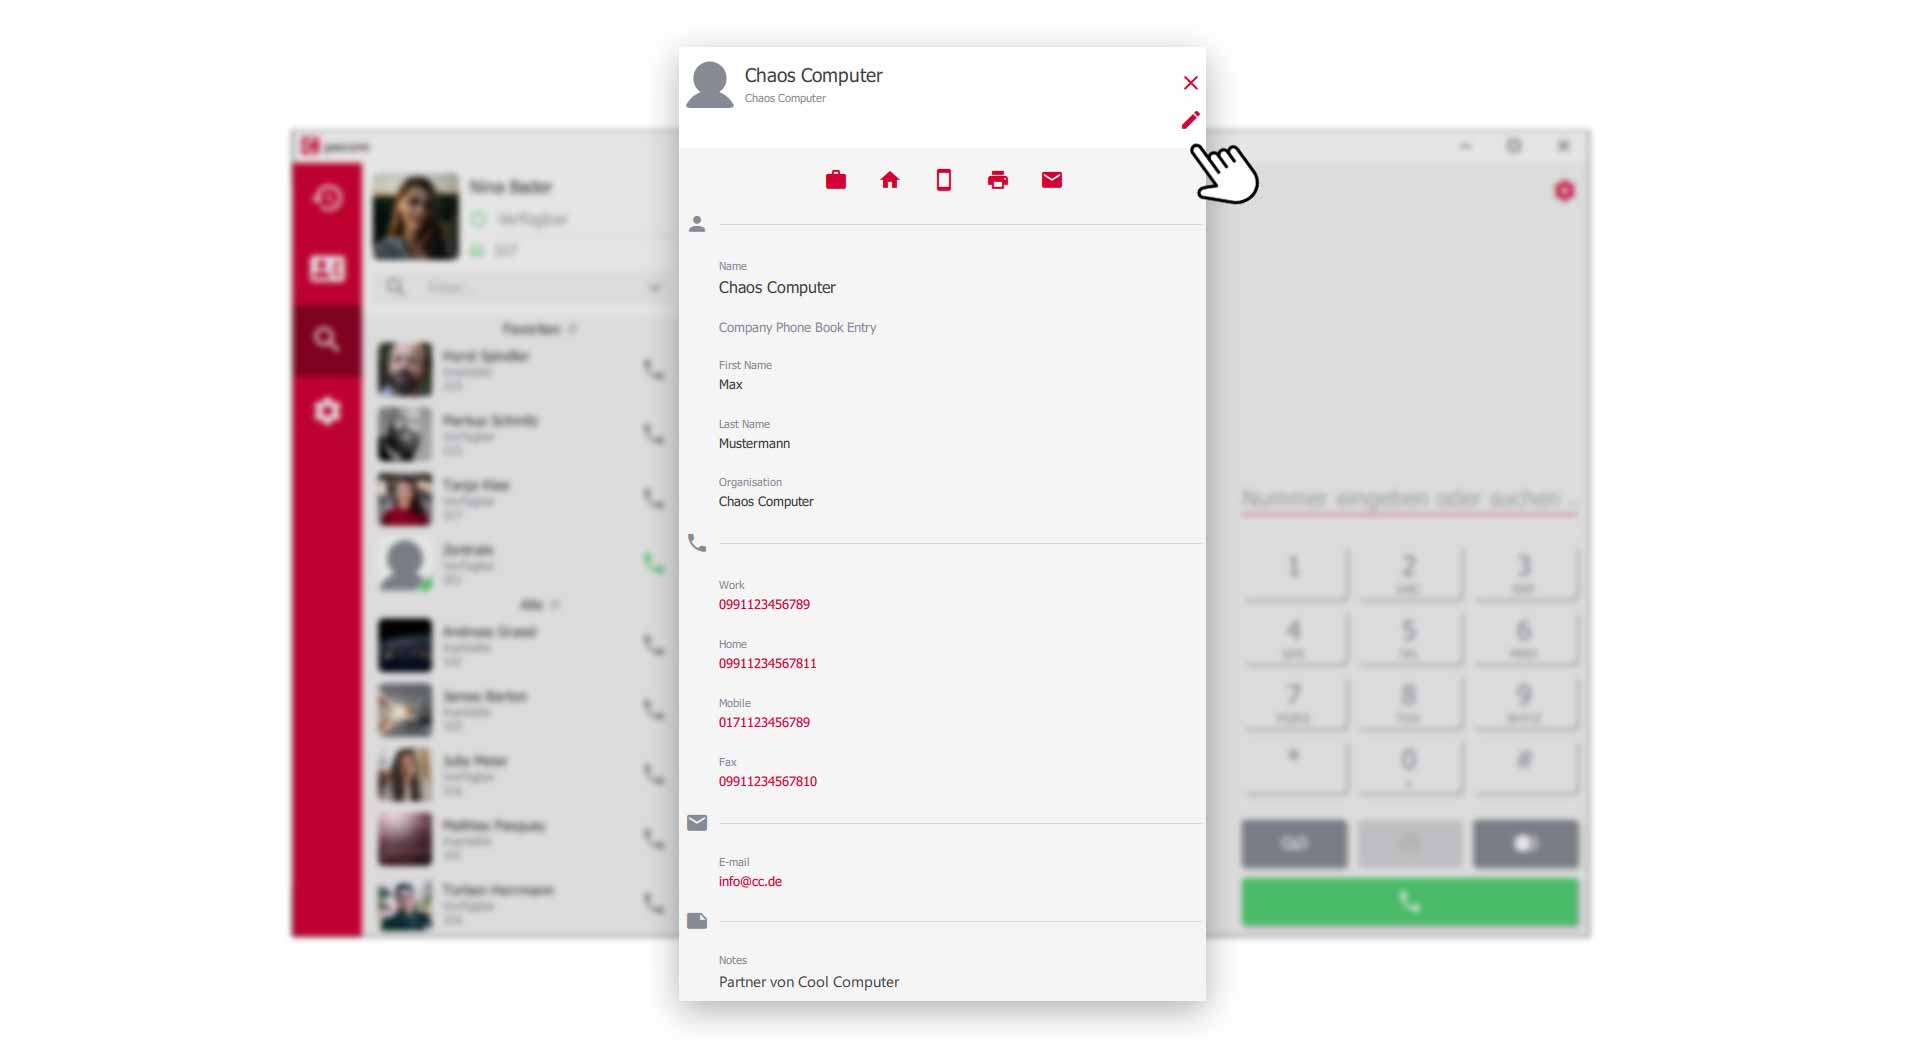 Details of an Phonebook entry
The detail view of a phone book entry gives you more information.
If you have the role of Phone book administrator or if you are in a telephone book entry of your private telephone book, you can edit the telephone book entry on the top right of the .
Create new phone book entry
To create new phone book entries in the global company phone book, you must have the role Phone book administrator or be system administrator.
To create new phone book entries, click on the in the phone book.
 Add a new Phonebook entry
Fill in the predefined fields with your contact data and click on the to save the phone entry.
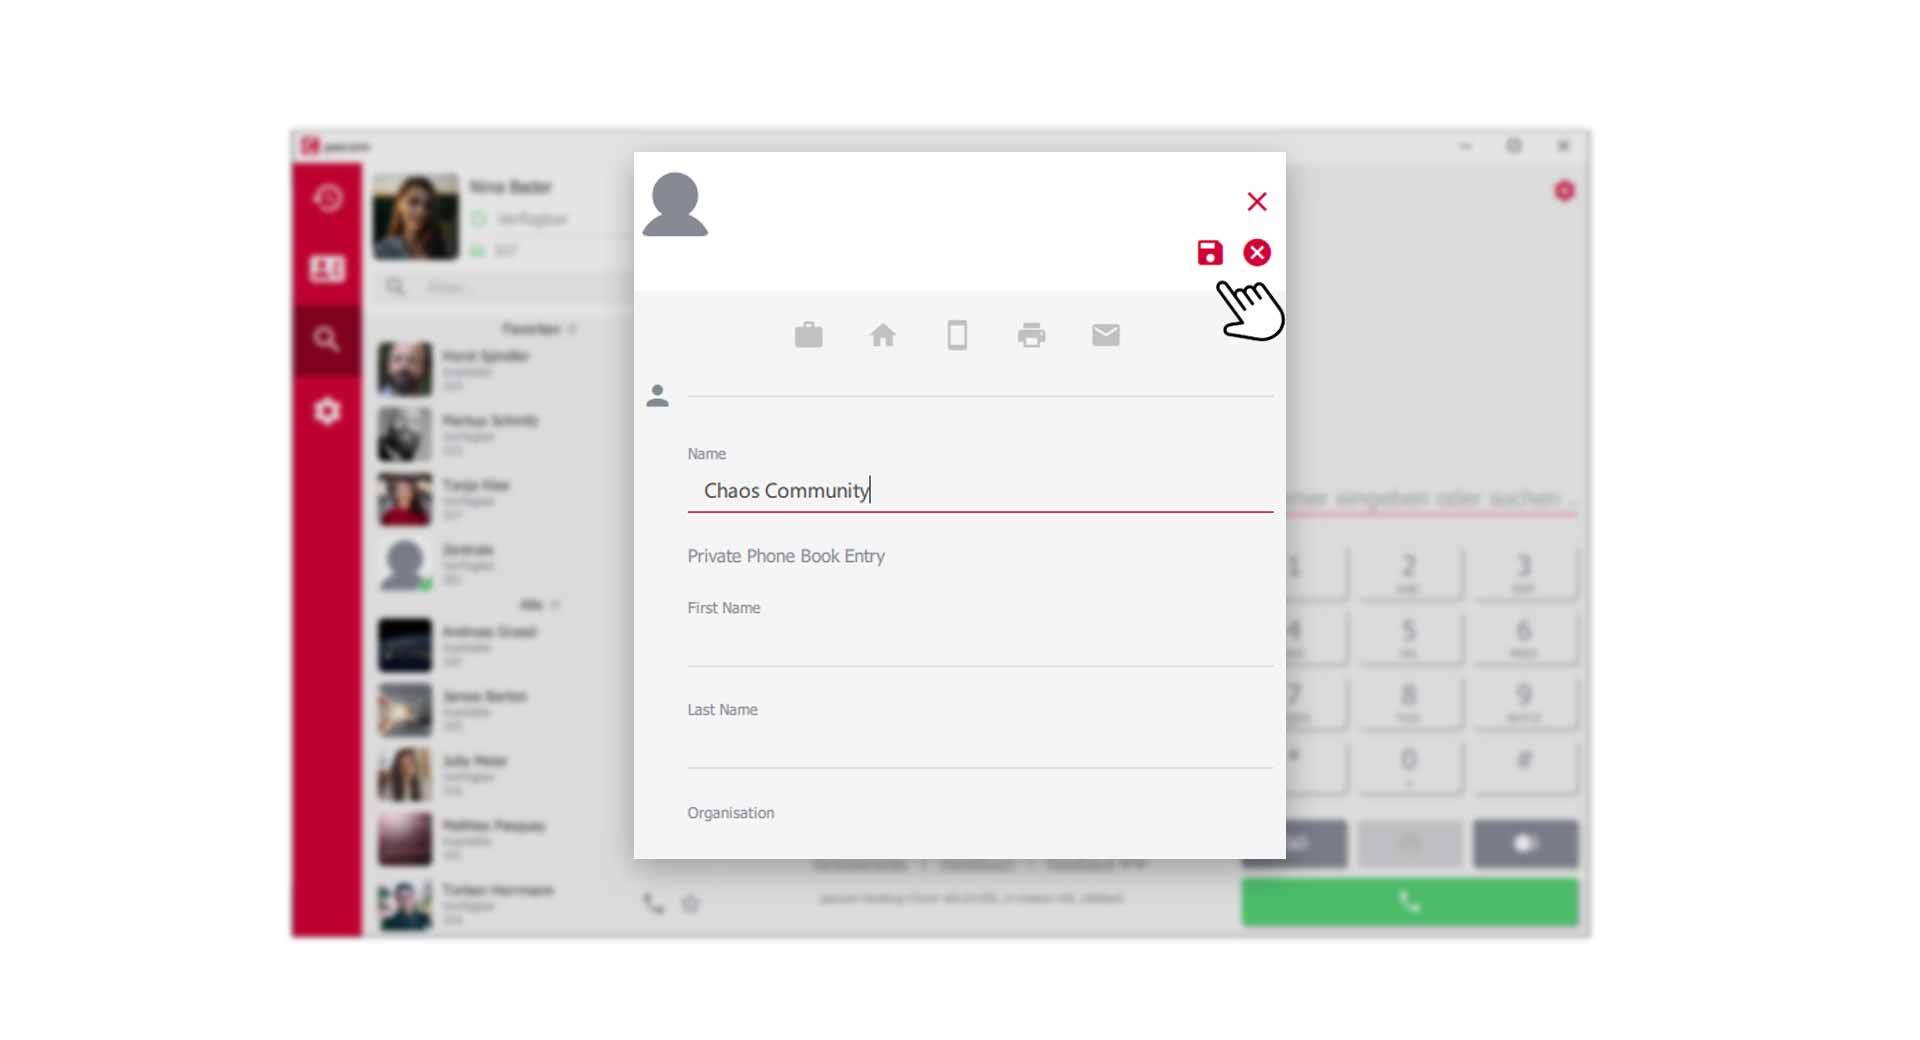 Create and save a new phonebook entry
Add phone book entries to contact list
If you want to place contacts from your phonebook directly in your contact list, you must mark the corresponding phonebook entry as .
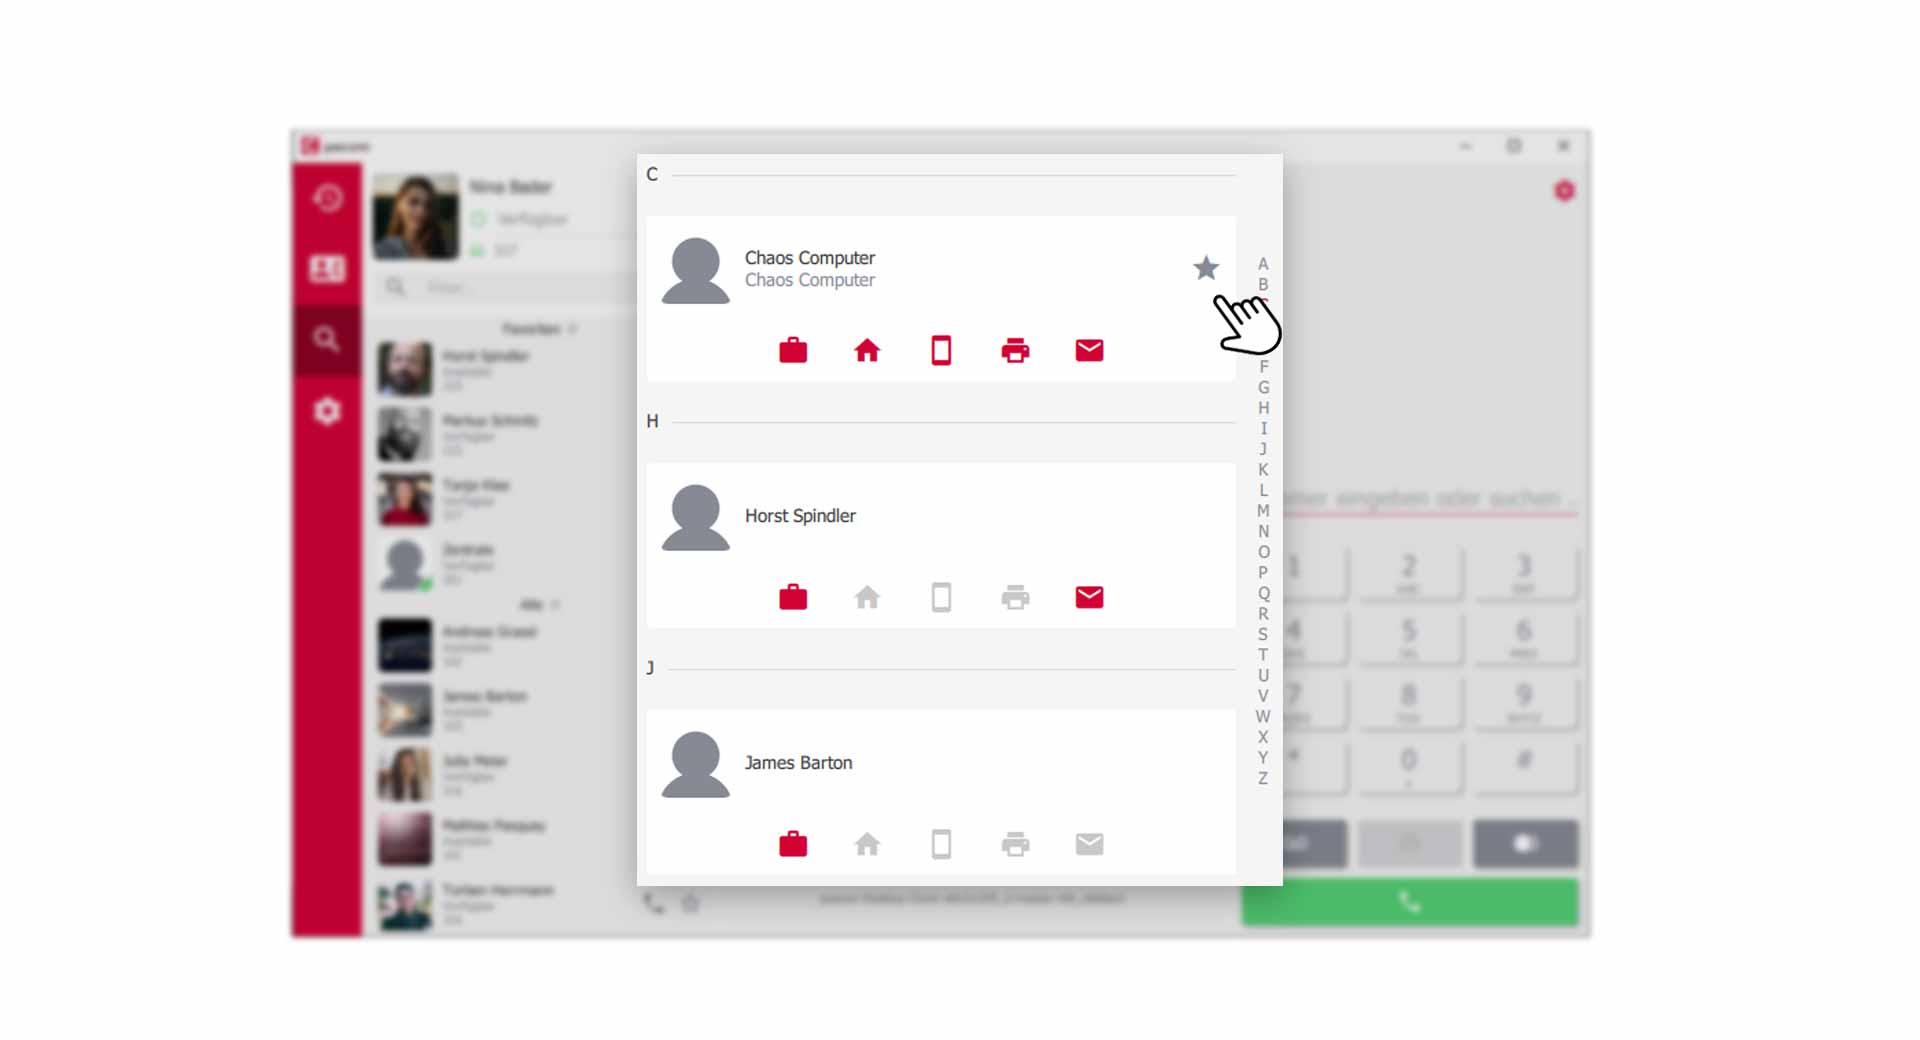 *Mark phonebook entry as favorit
Then the Phonebook entry appears in the section of your Favorites in the contact list.
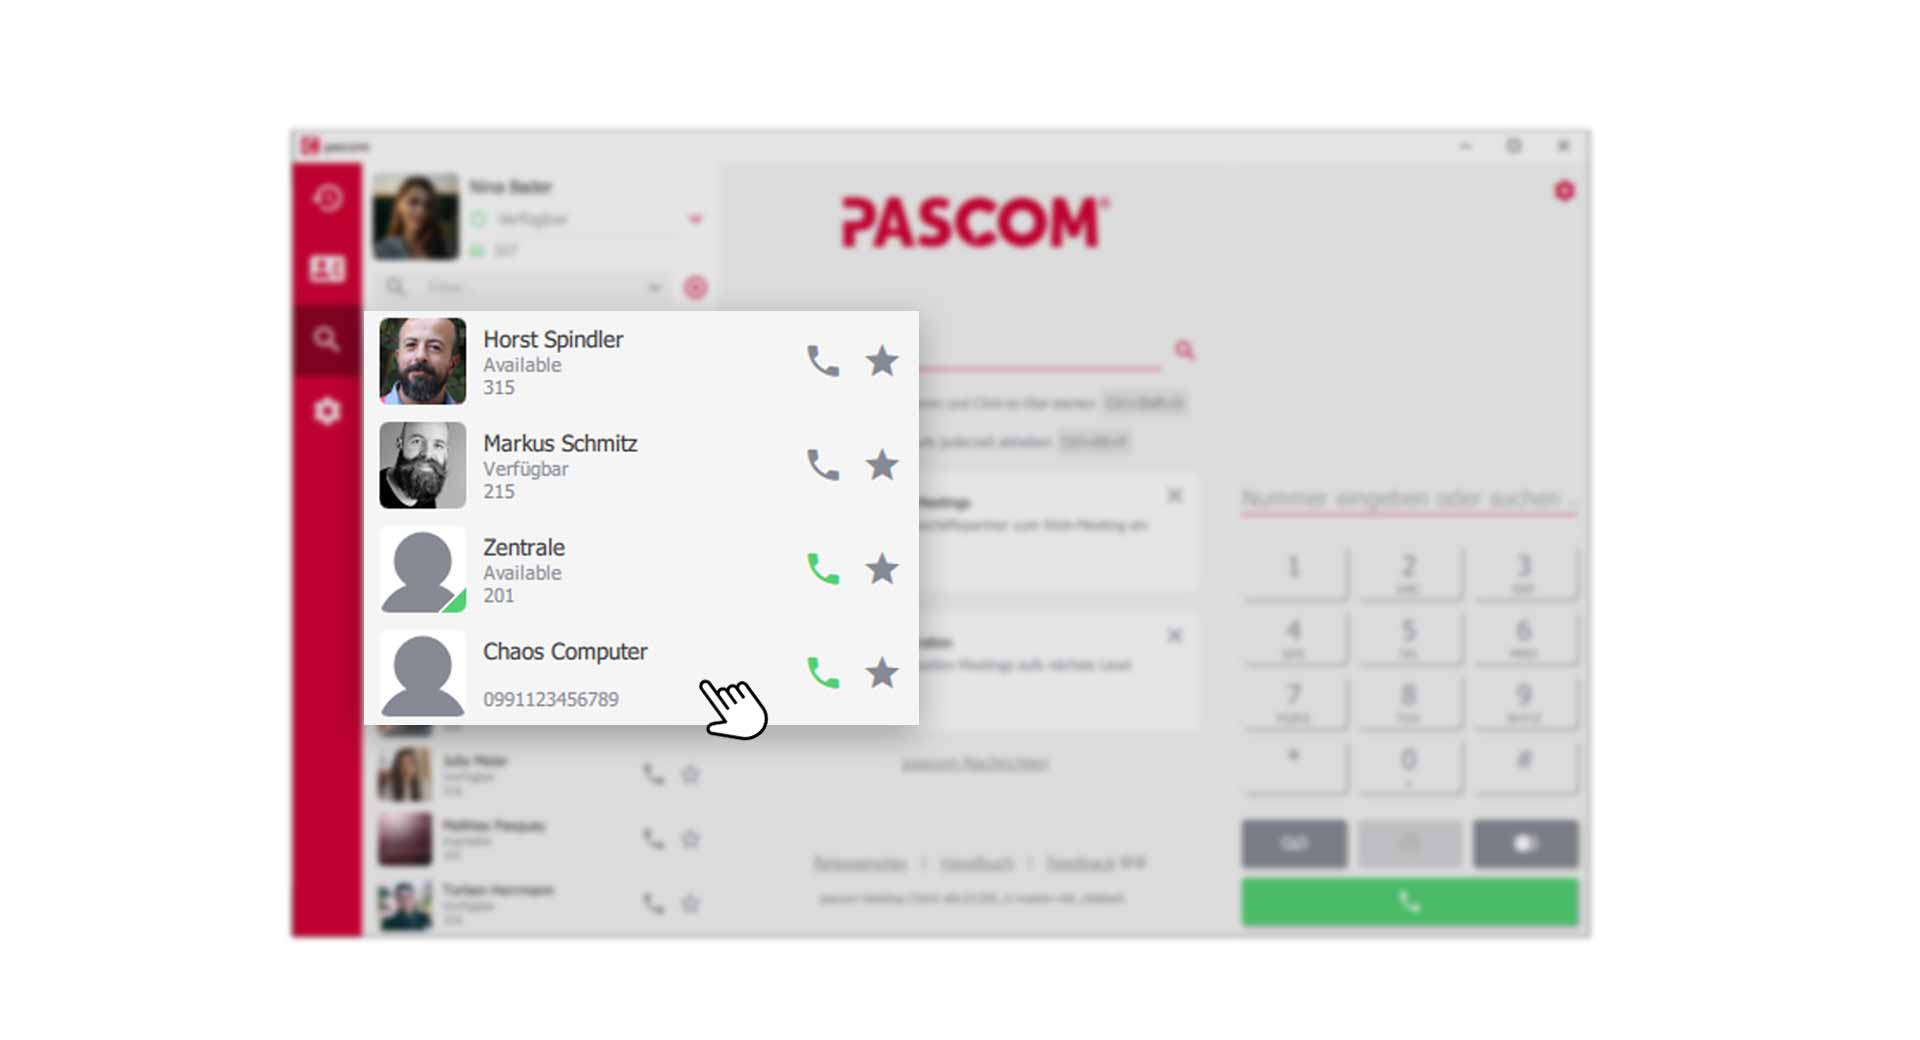 Add phone book entry as favorite in the contact list
Outlook Kontakte importieren (ab v.2013)
If the pascom Desktop Client finds a supported Outlook phone book on the PC, the entries can be automatically added to the client in the private phone book.
The Outlook import only works with the local version. To do this, the “New Outlook version “ switch must be deactivated.

The administrator can import contacts from the “New Outlook version “ into your private phone book using the Microsoft 365 Connector.
- Open the via the pascom Menü
- Click on in the Settings menu
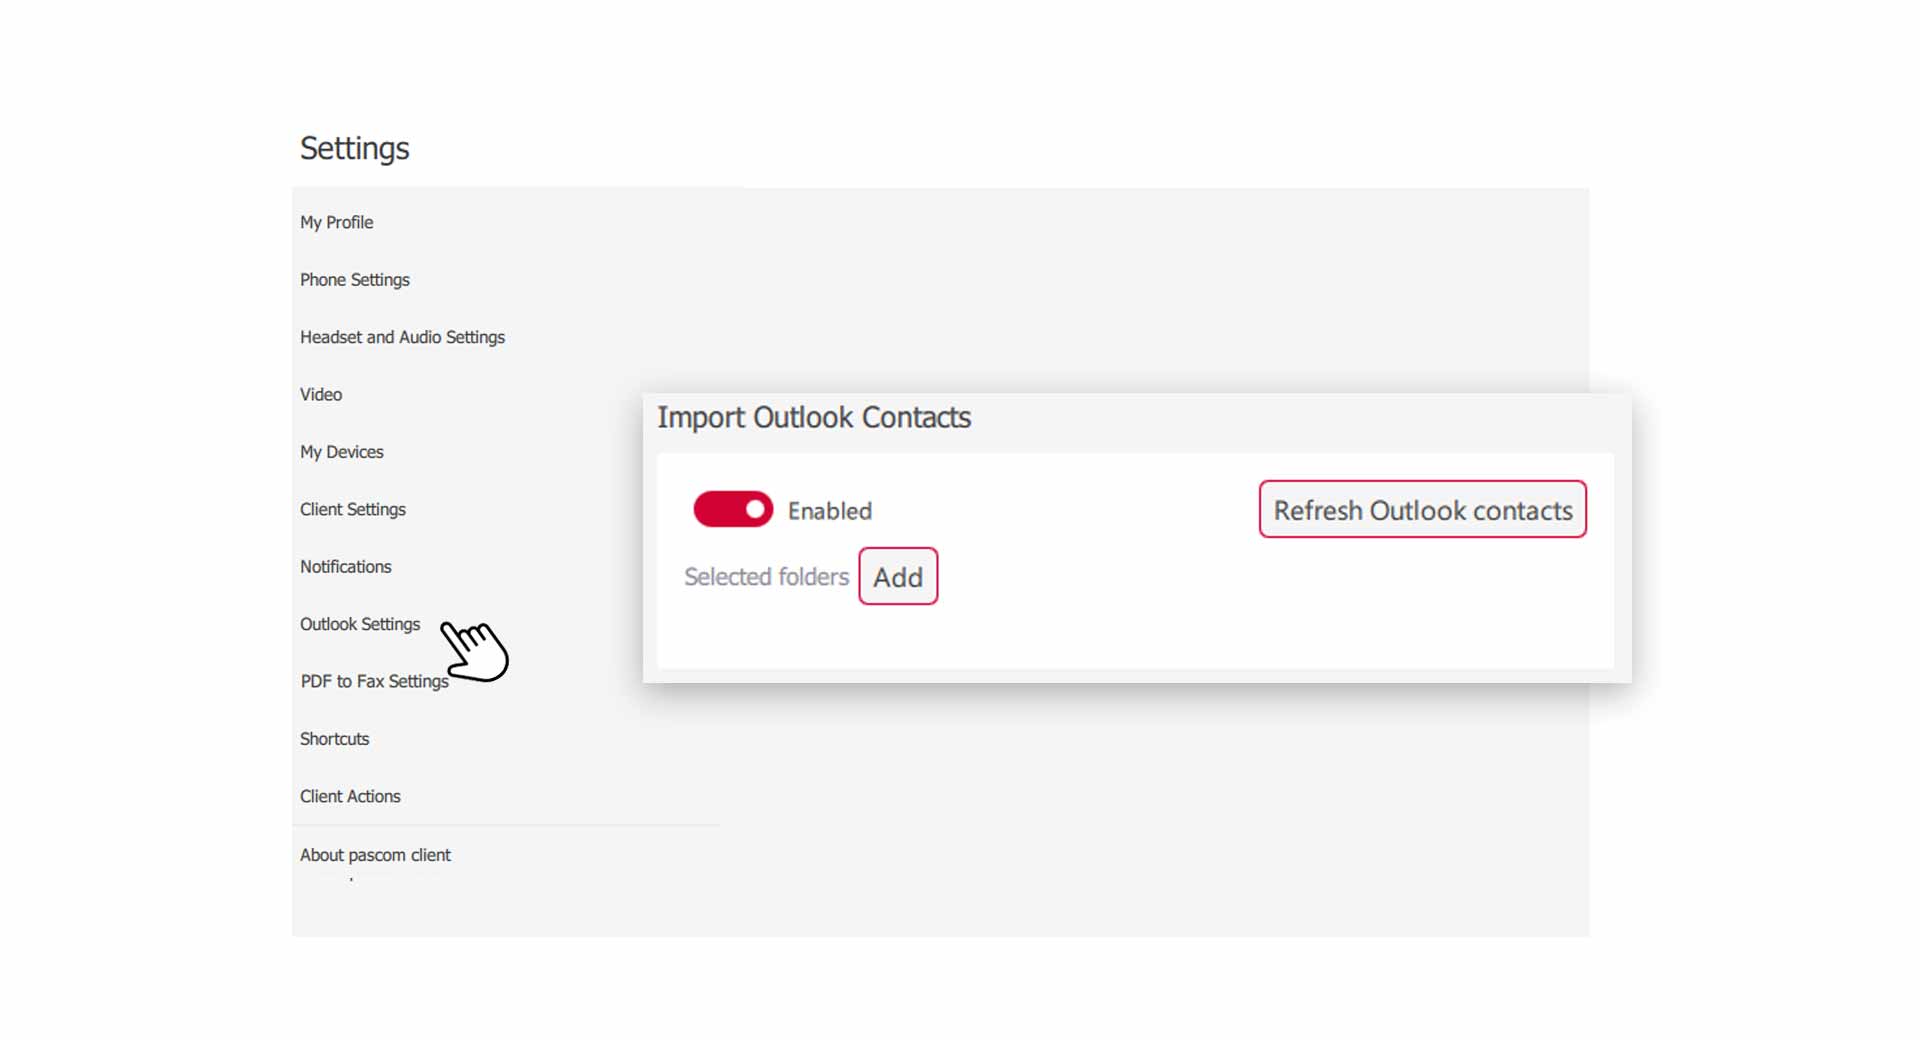
- the connector and the pascom client will automatically attempt to connect to your Outlook.
Set Outlook PST folder manually
The Outlook PST file contains all Outlook data. Among others also your contacts.
- Click on by the Selected folders section and select the directory where the Outlook PST file is located.
Update Outlook contacts
The pascom client automatically updates your Outlook contacts every time you start the program. If newly created contact data does not yet appear in the pascom phone book, click on in the settings menu.